helix-dashboard
Overview
This is a dashboard for helixdb. It allows you to view and interact with your helixdb database.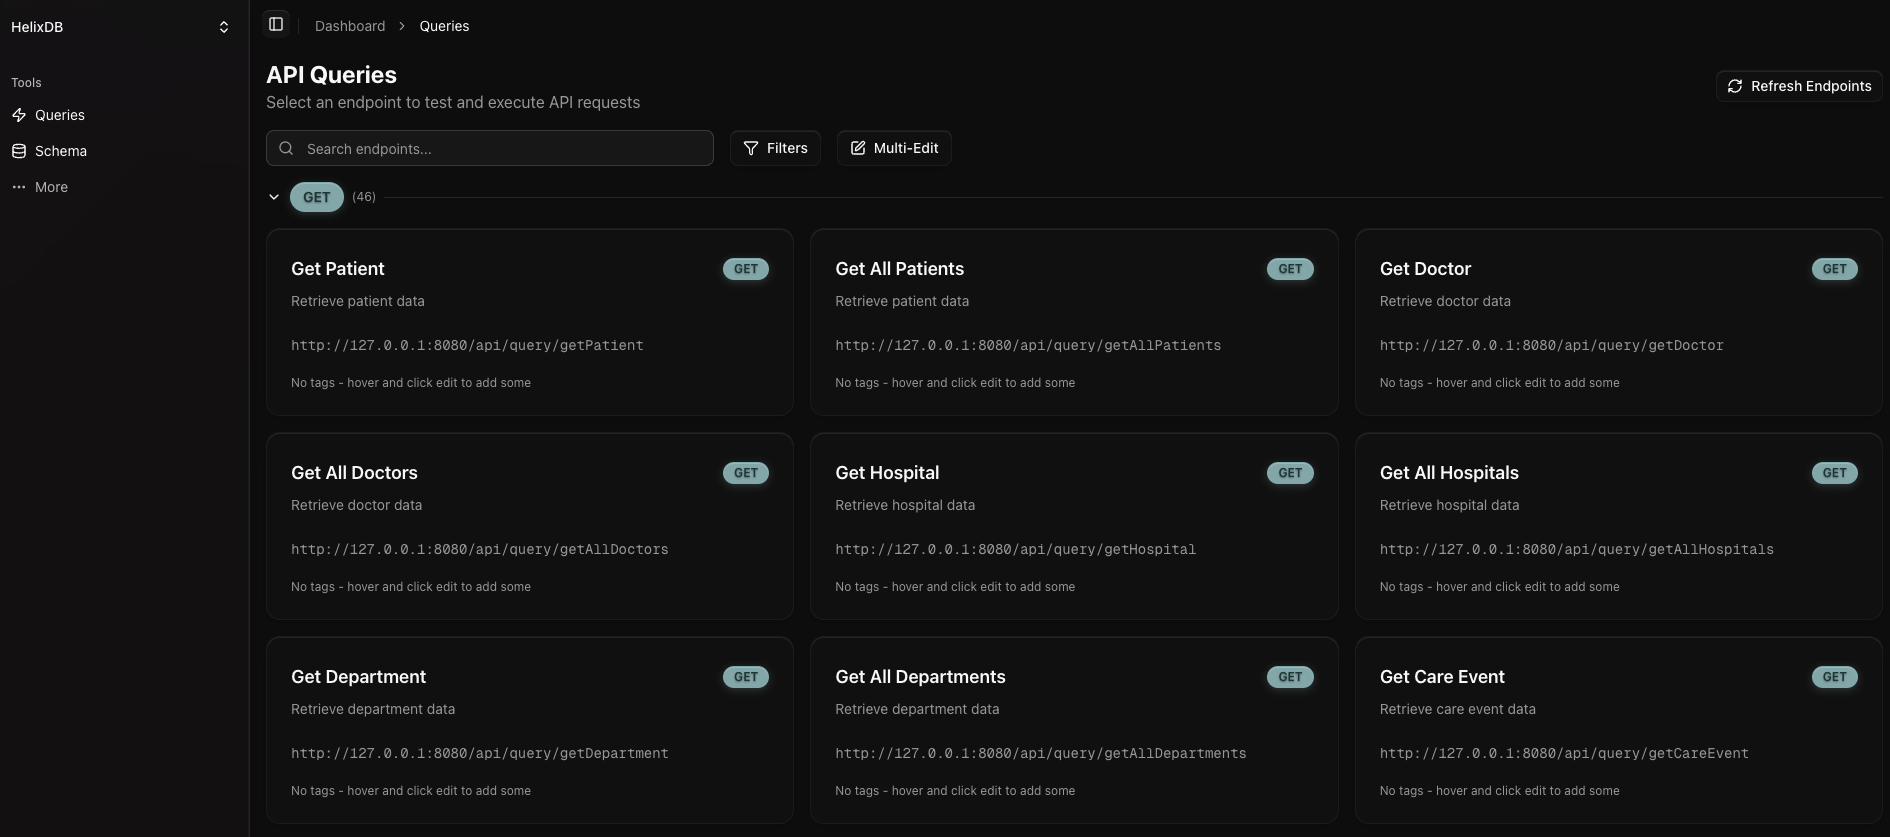
Query Format
The dashboard works best when your queries follow this naming convention:- Creating or linking nodes and edges should start with “create” or “link” (e.g., “createPatient” or “linkPatientToDoctor”)
- Searching or getting nodes and edges should start with “get” (e.g., “getPatient” or “getDoctor”)
- Updating nodes and edges should start with “update” (e.g., “updatePatient” or “updateDoctor”)
- Deleting nodes and edges should start with “delete” (e.g., “deletePatient” or “deleteDoctor”)
Setup
Launch via CLI (Recommended)
The easiest way to launch the dashboard is using the Helix CLI:You must have
build_mode set to "dev" in your helix.toml for the dashboard to work.- Pull the dashboard Docker image
- Start the container with the correct configuration
- Open the dashboard in your default browser
CLI Options
| Option | Description | Default |
|---|---|---|
--port | Port to run dashboard on | 3000 |
--host | Helix host to connect to (bypasses project config) | - |
--helix-port | Helix port to connect to (used with --host) | 6969 |
--attach | Run dashboard in foreground with logs | false |
--restart | Restart if dashboard is already running | false |
Local Development (Manual)
- Ensure your HelixDB instance is running (default port: 6969)
- Navigate to the
frontenddirectory and runnpm installto install dependencies - Run
npm run devto start the development server - The application will be available at
http://localhost:3000
Docker (Production)
For production deployment using Docker:Environment Variables
Create a.env file in the frontend directory to configure your HelixDB connection:
HELIX_HOST- HelixDB host (default: localhost)HELIX_PORT- HelixDB port (default: 6969)HELIX_CLOUD_URL- HelixDB cloud URL (for cloud deployments)HELIX_API_KEY- HelixDB API key (for cloud deployments)
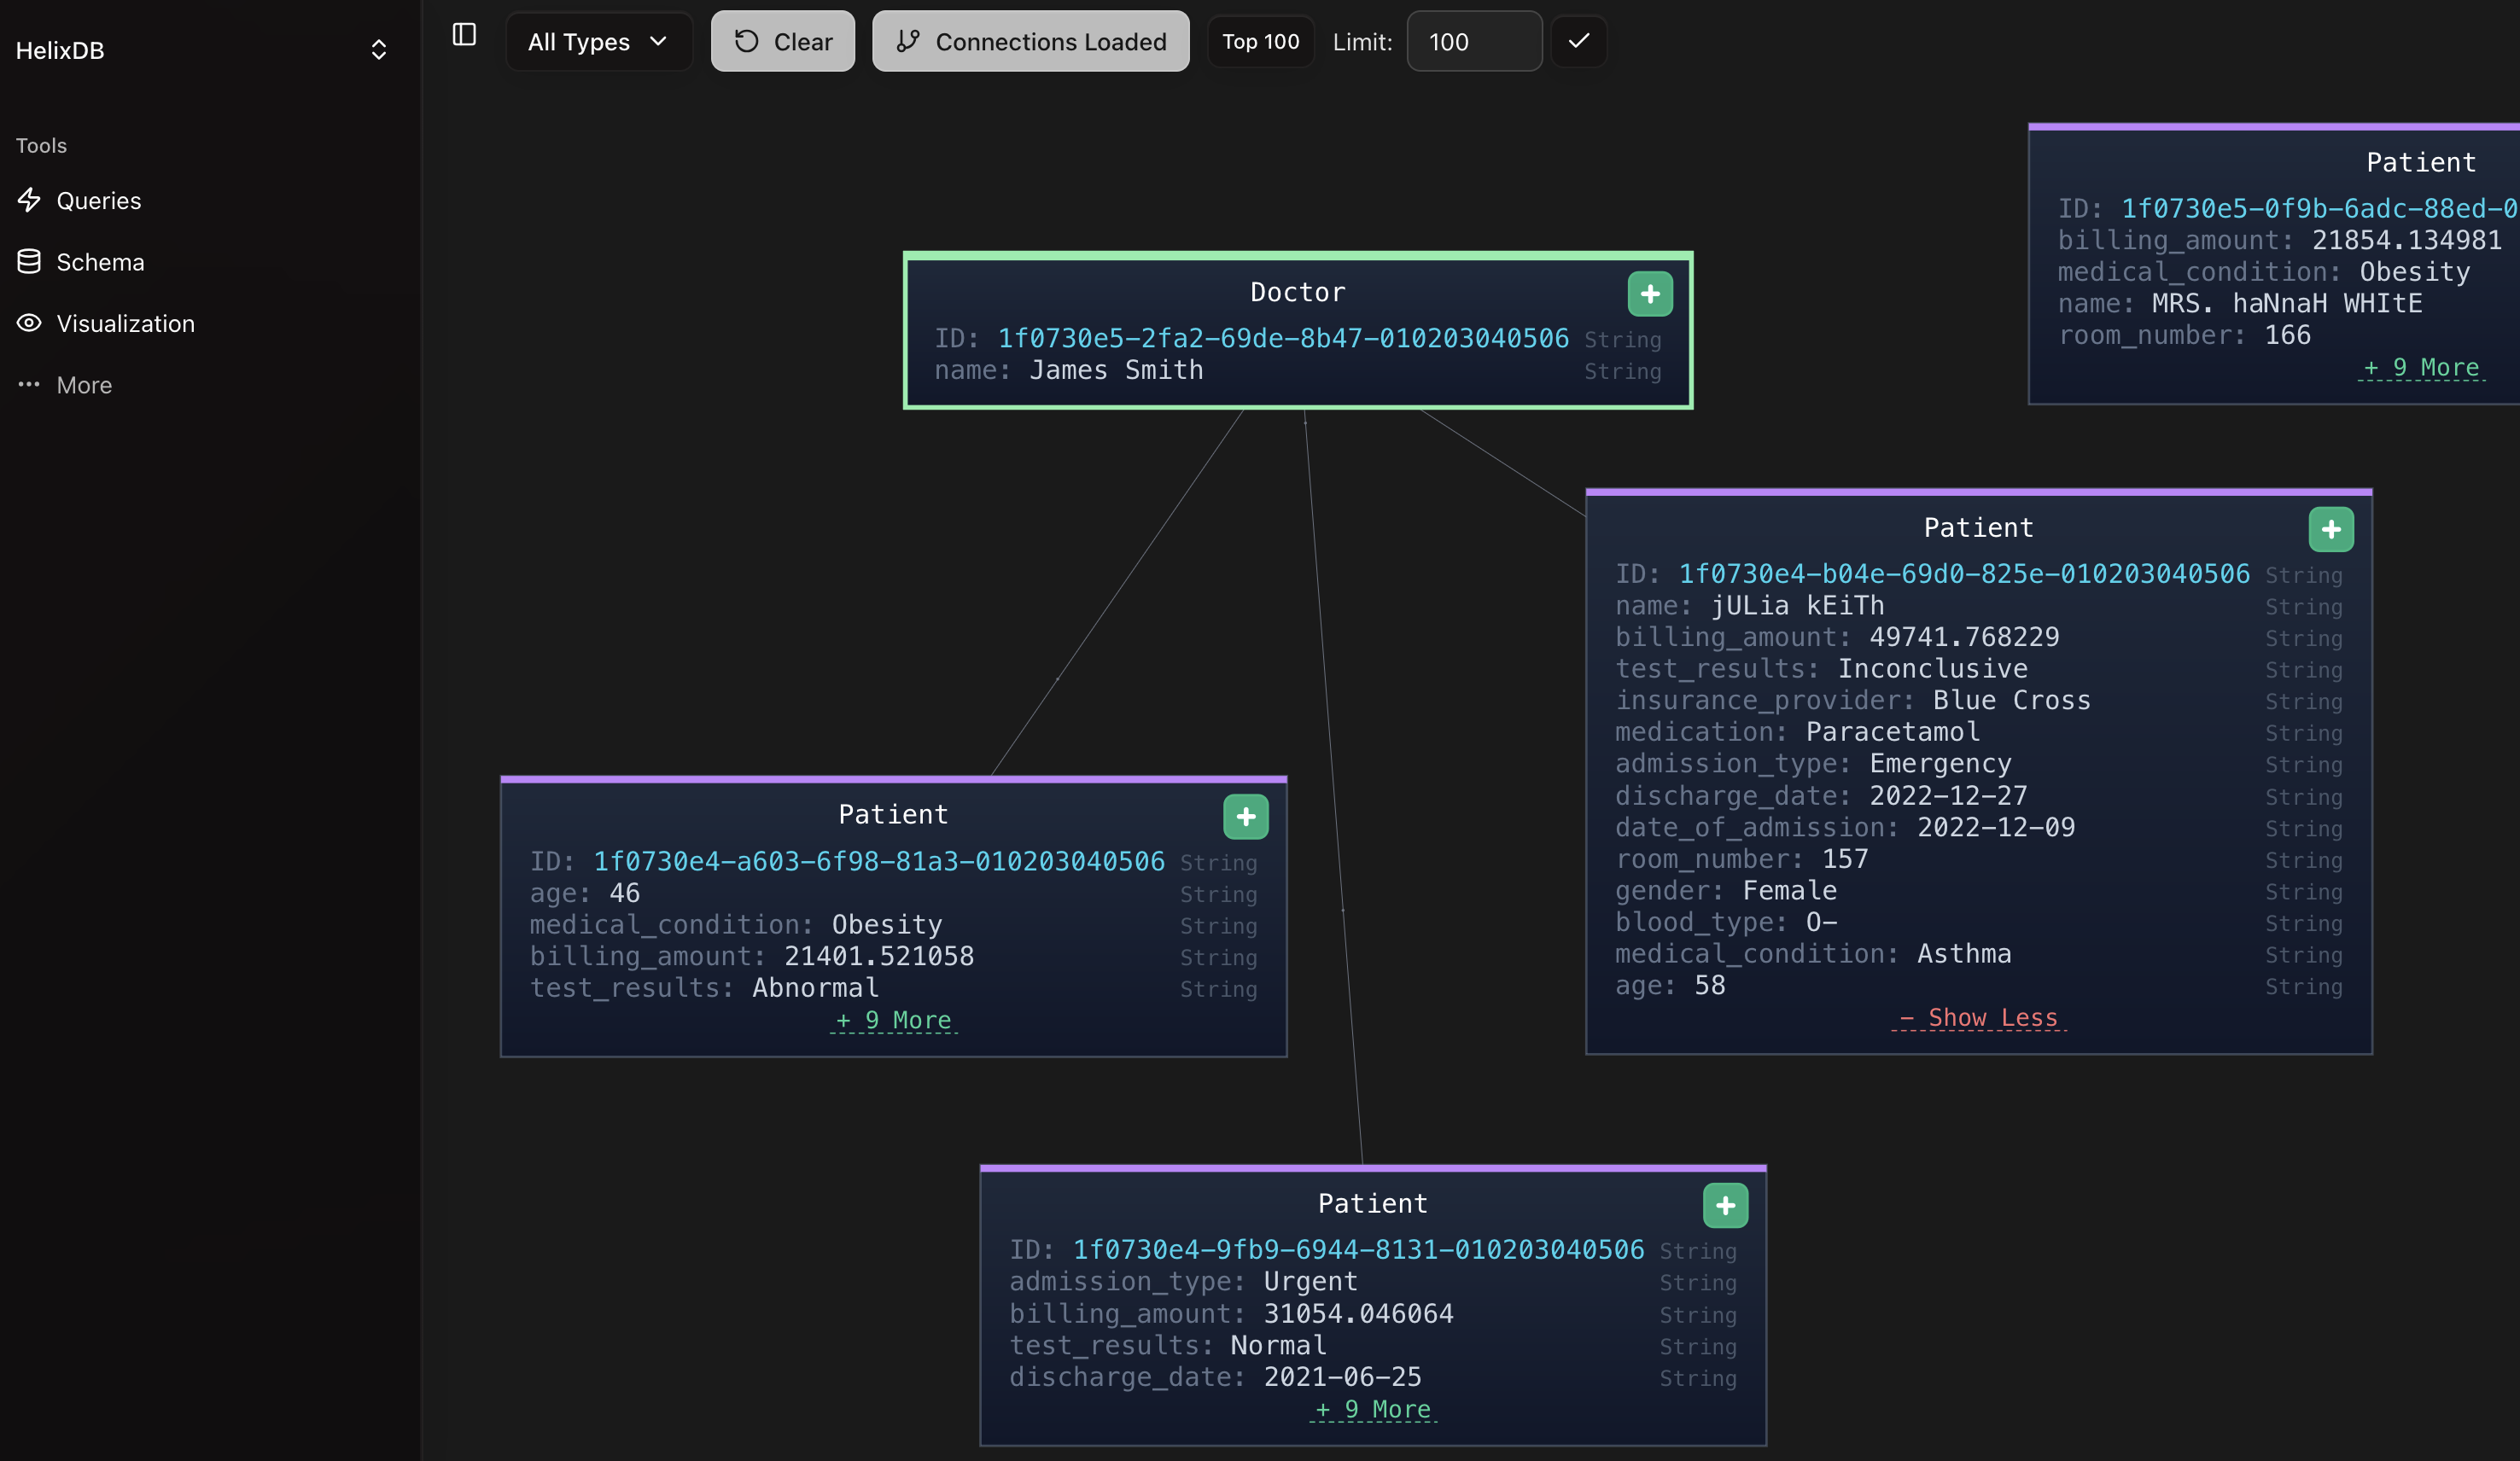
Visualizer Setup
NOTE:- You may need to stop your current HelixDB instance and deploy again using
helix push <instance_name>to use the visualizer. - In some browsers like Brave, you may not be able to click on all nodes properly. We recommend using Chrome, Firefox, or Safari for the best experience.
- For performance reasons, we recommend not visualizing more than 3000 nodes as it may cause browser performance issues.
- Ensure your HelixDB instance is deployed using
helix push <instance_name>to use the visualizer - Start the dashboard application (locally or via Docker)