

Tutorial
For the complete documentation index optimized for AI agents, see llms.txt.Use the Helix Cloud dashboard to organize databases into workspaces and projects, choose a managed plan, and create API keys.
1
Sign in
Open the Helix Cloud dashboard and select
GitHub Login. When prompted, enter the one-time verification code from
the email sent by WorkOS.
2
Create a workspace
Enter a workspace name, select the region for future dedicated clusters,
and select Create Workspace.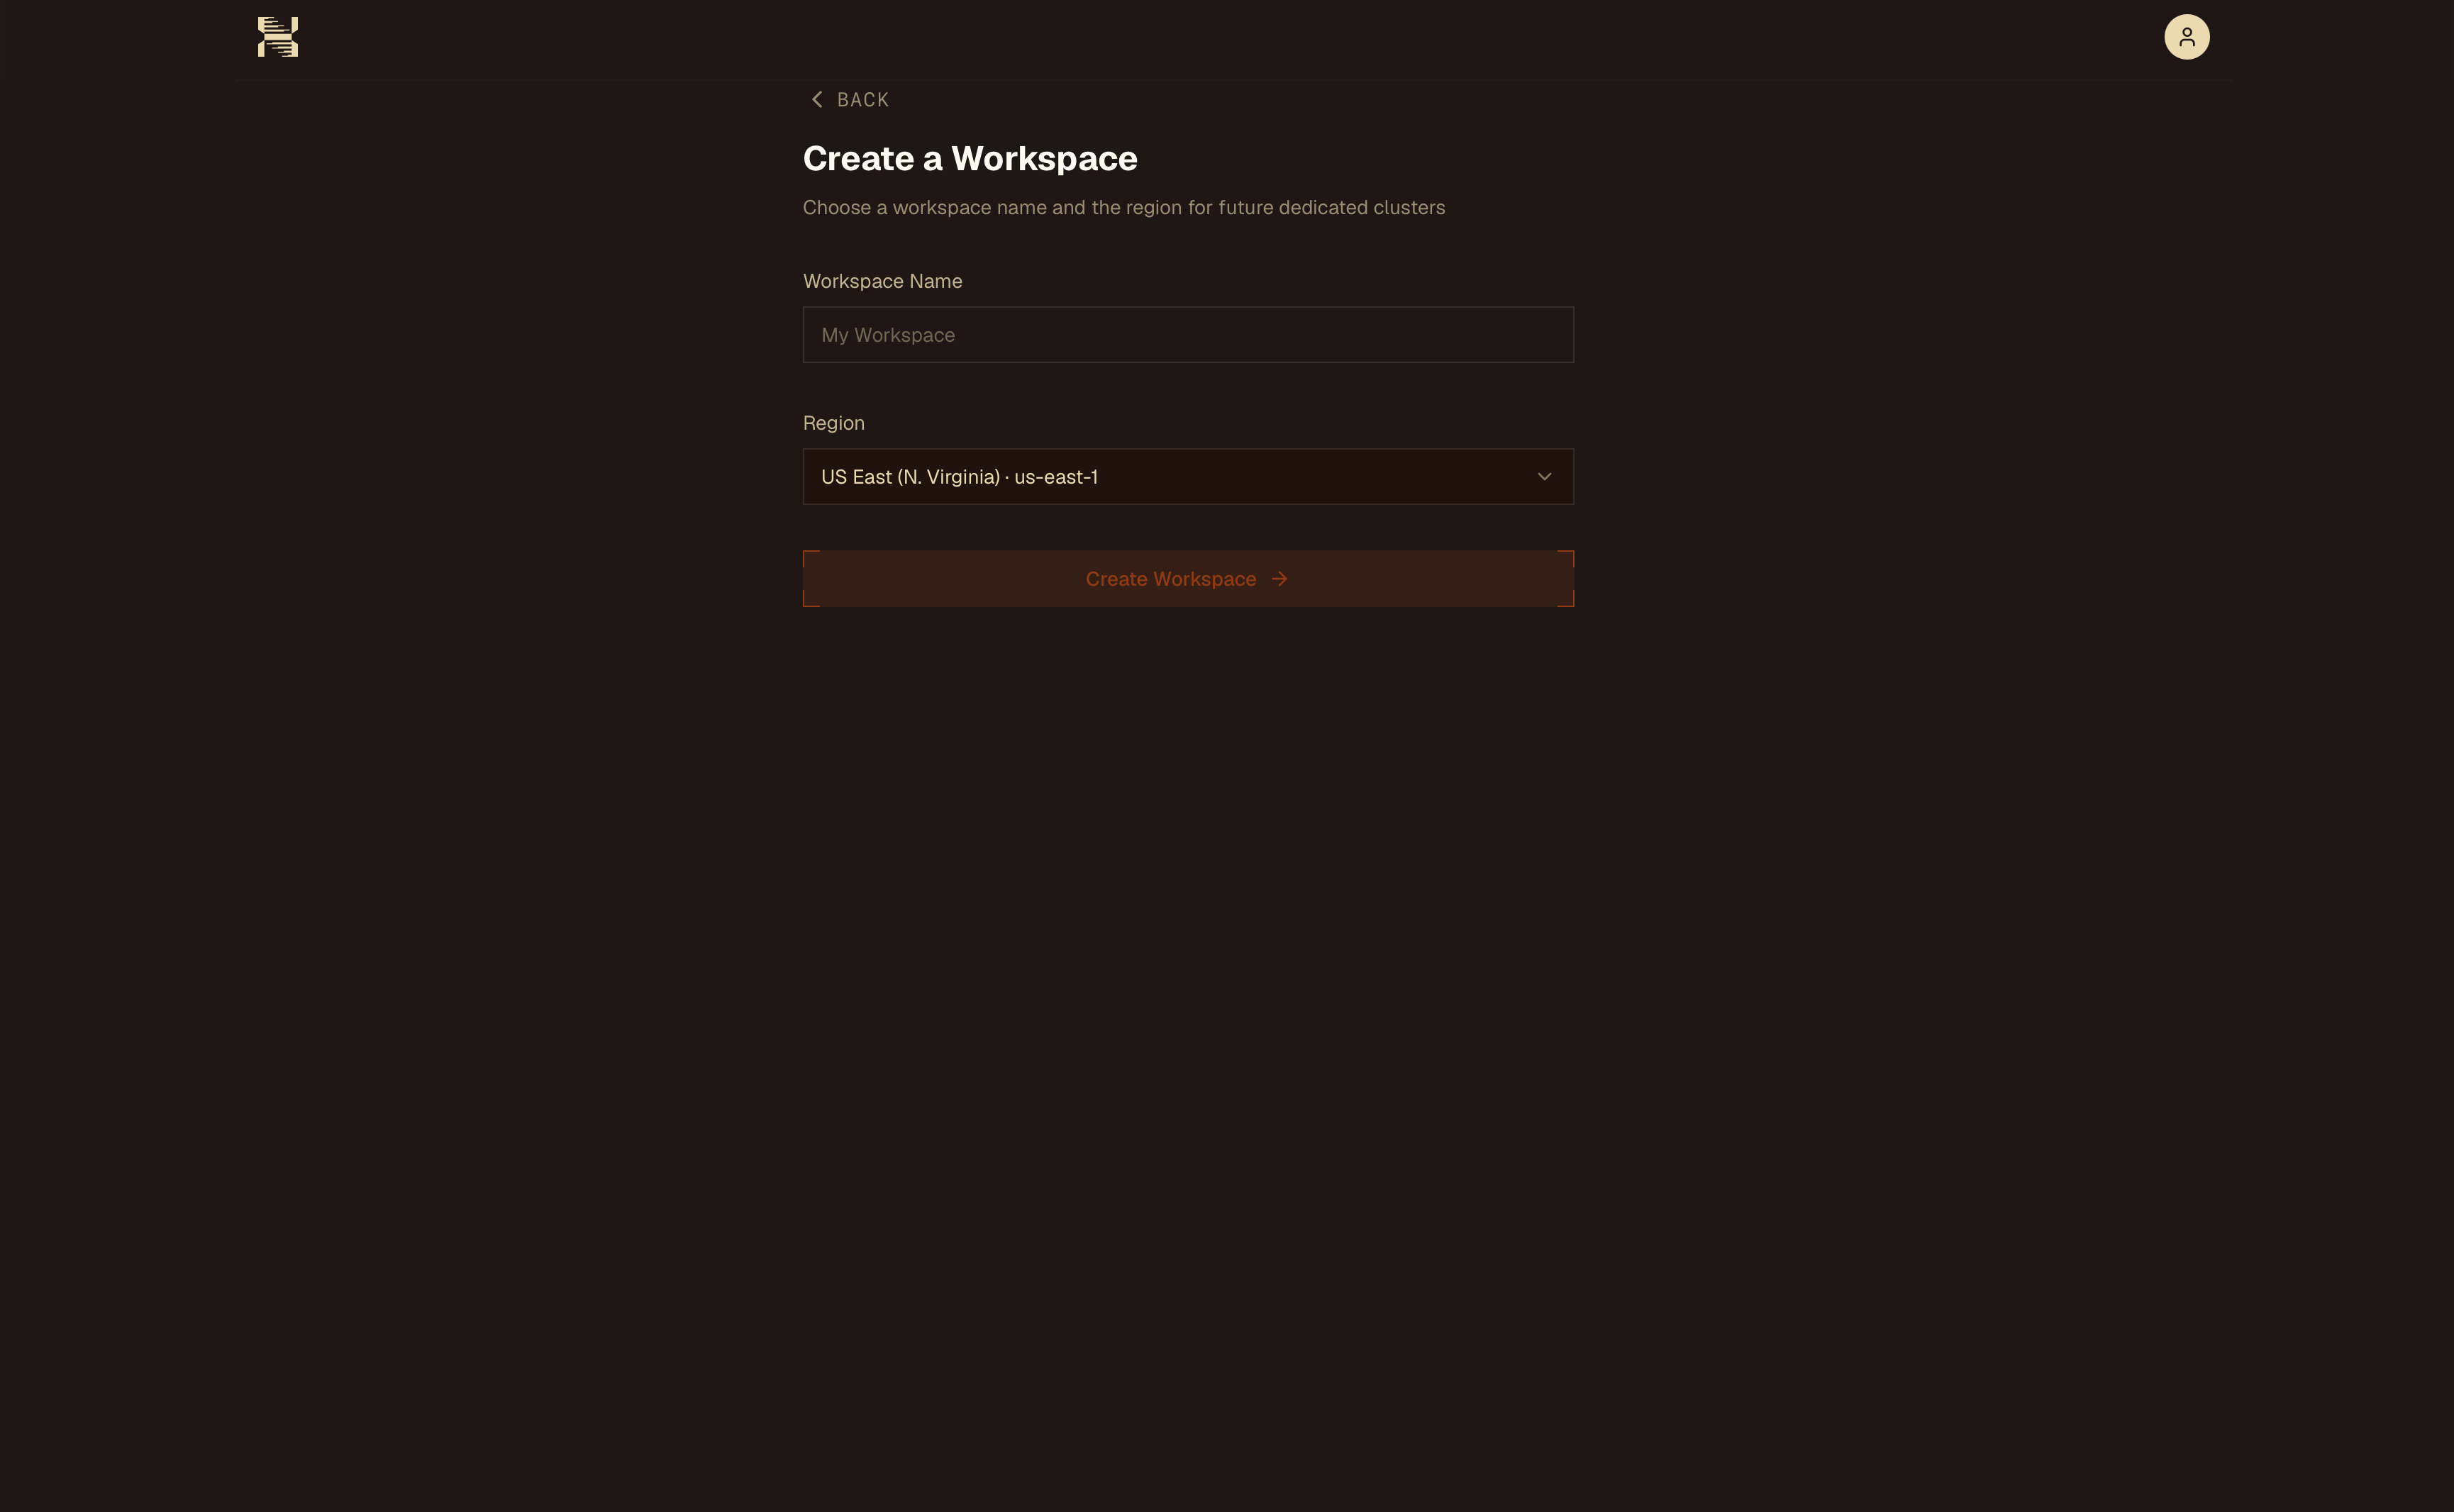
New workspaces currently support only the
us-east-1 region.3
Create a project
Select Create Project, then give the project a name. Projects group the
databases and dedicated clusters for an application or environment.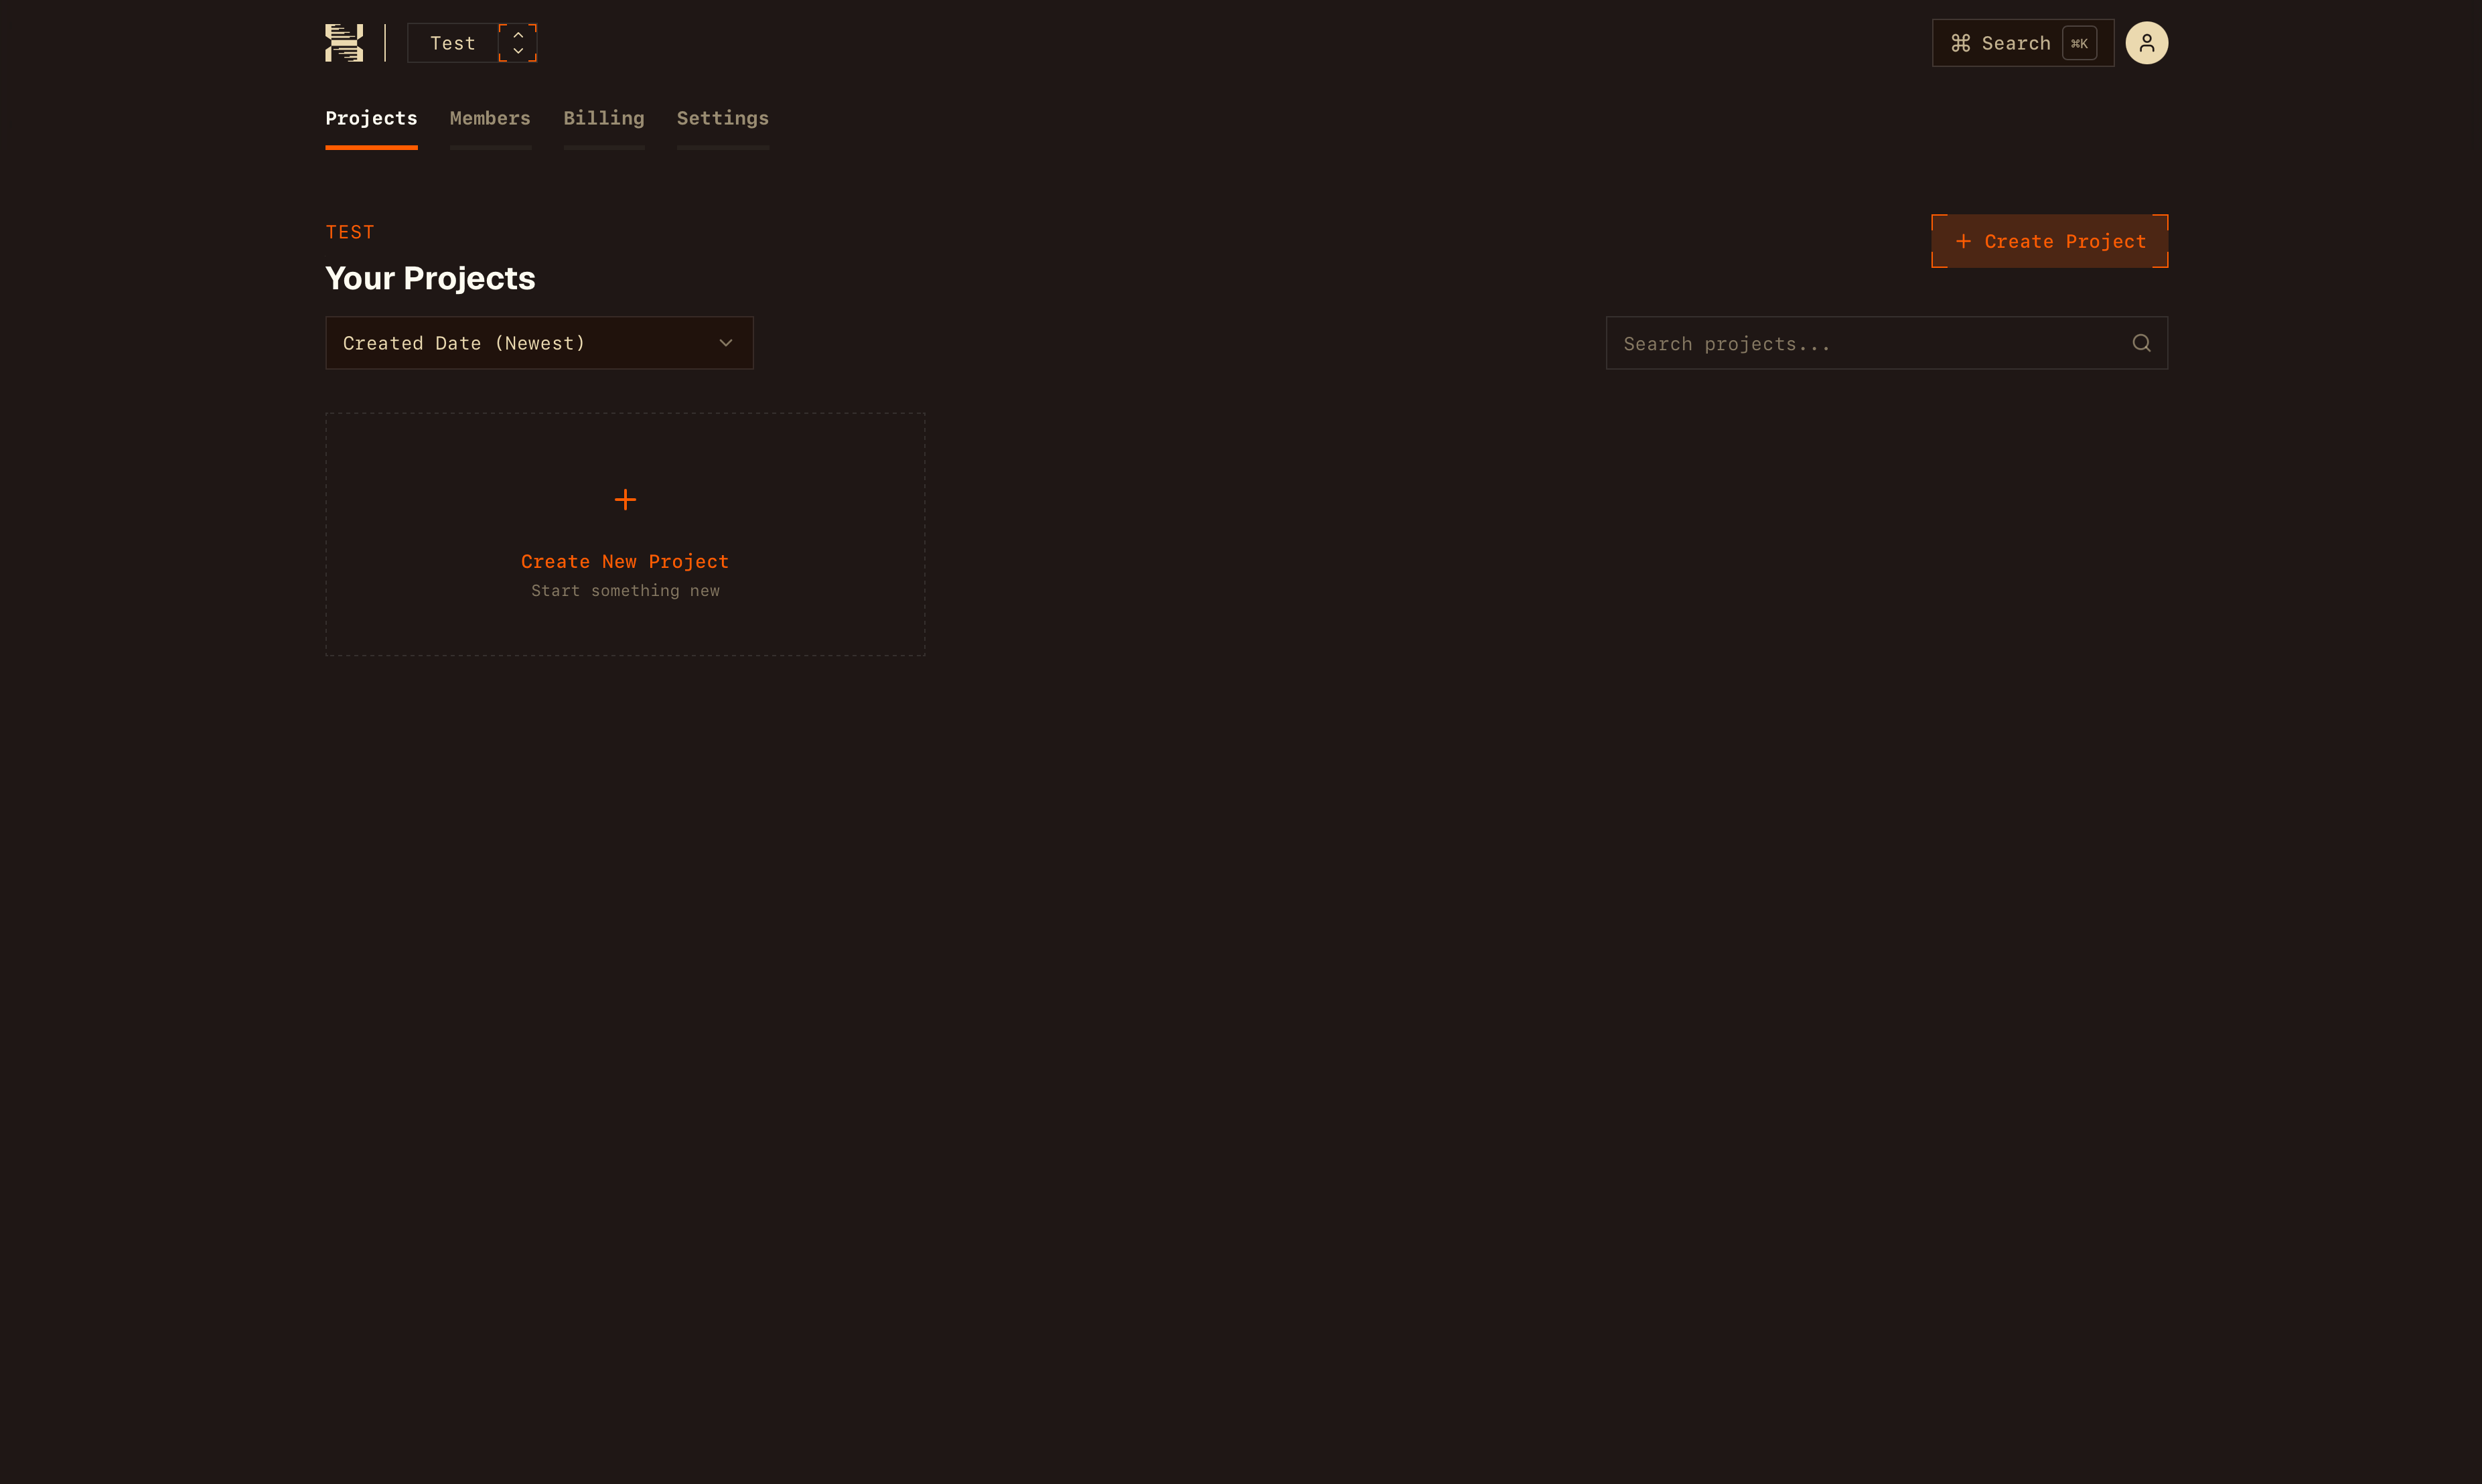
4
Start creating a database
Open the project and select Create Database.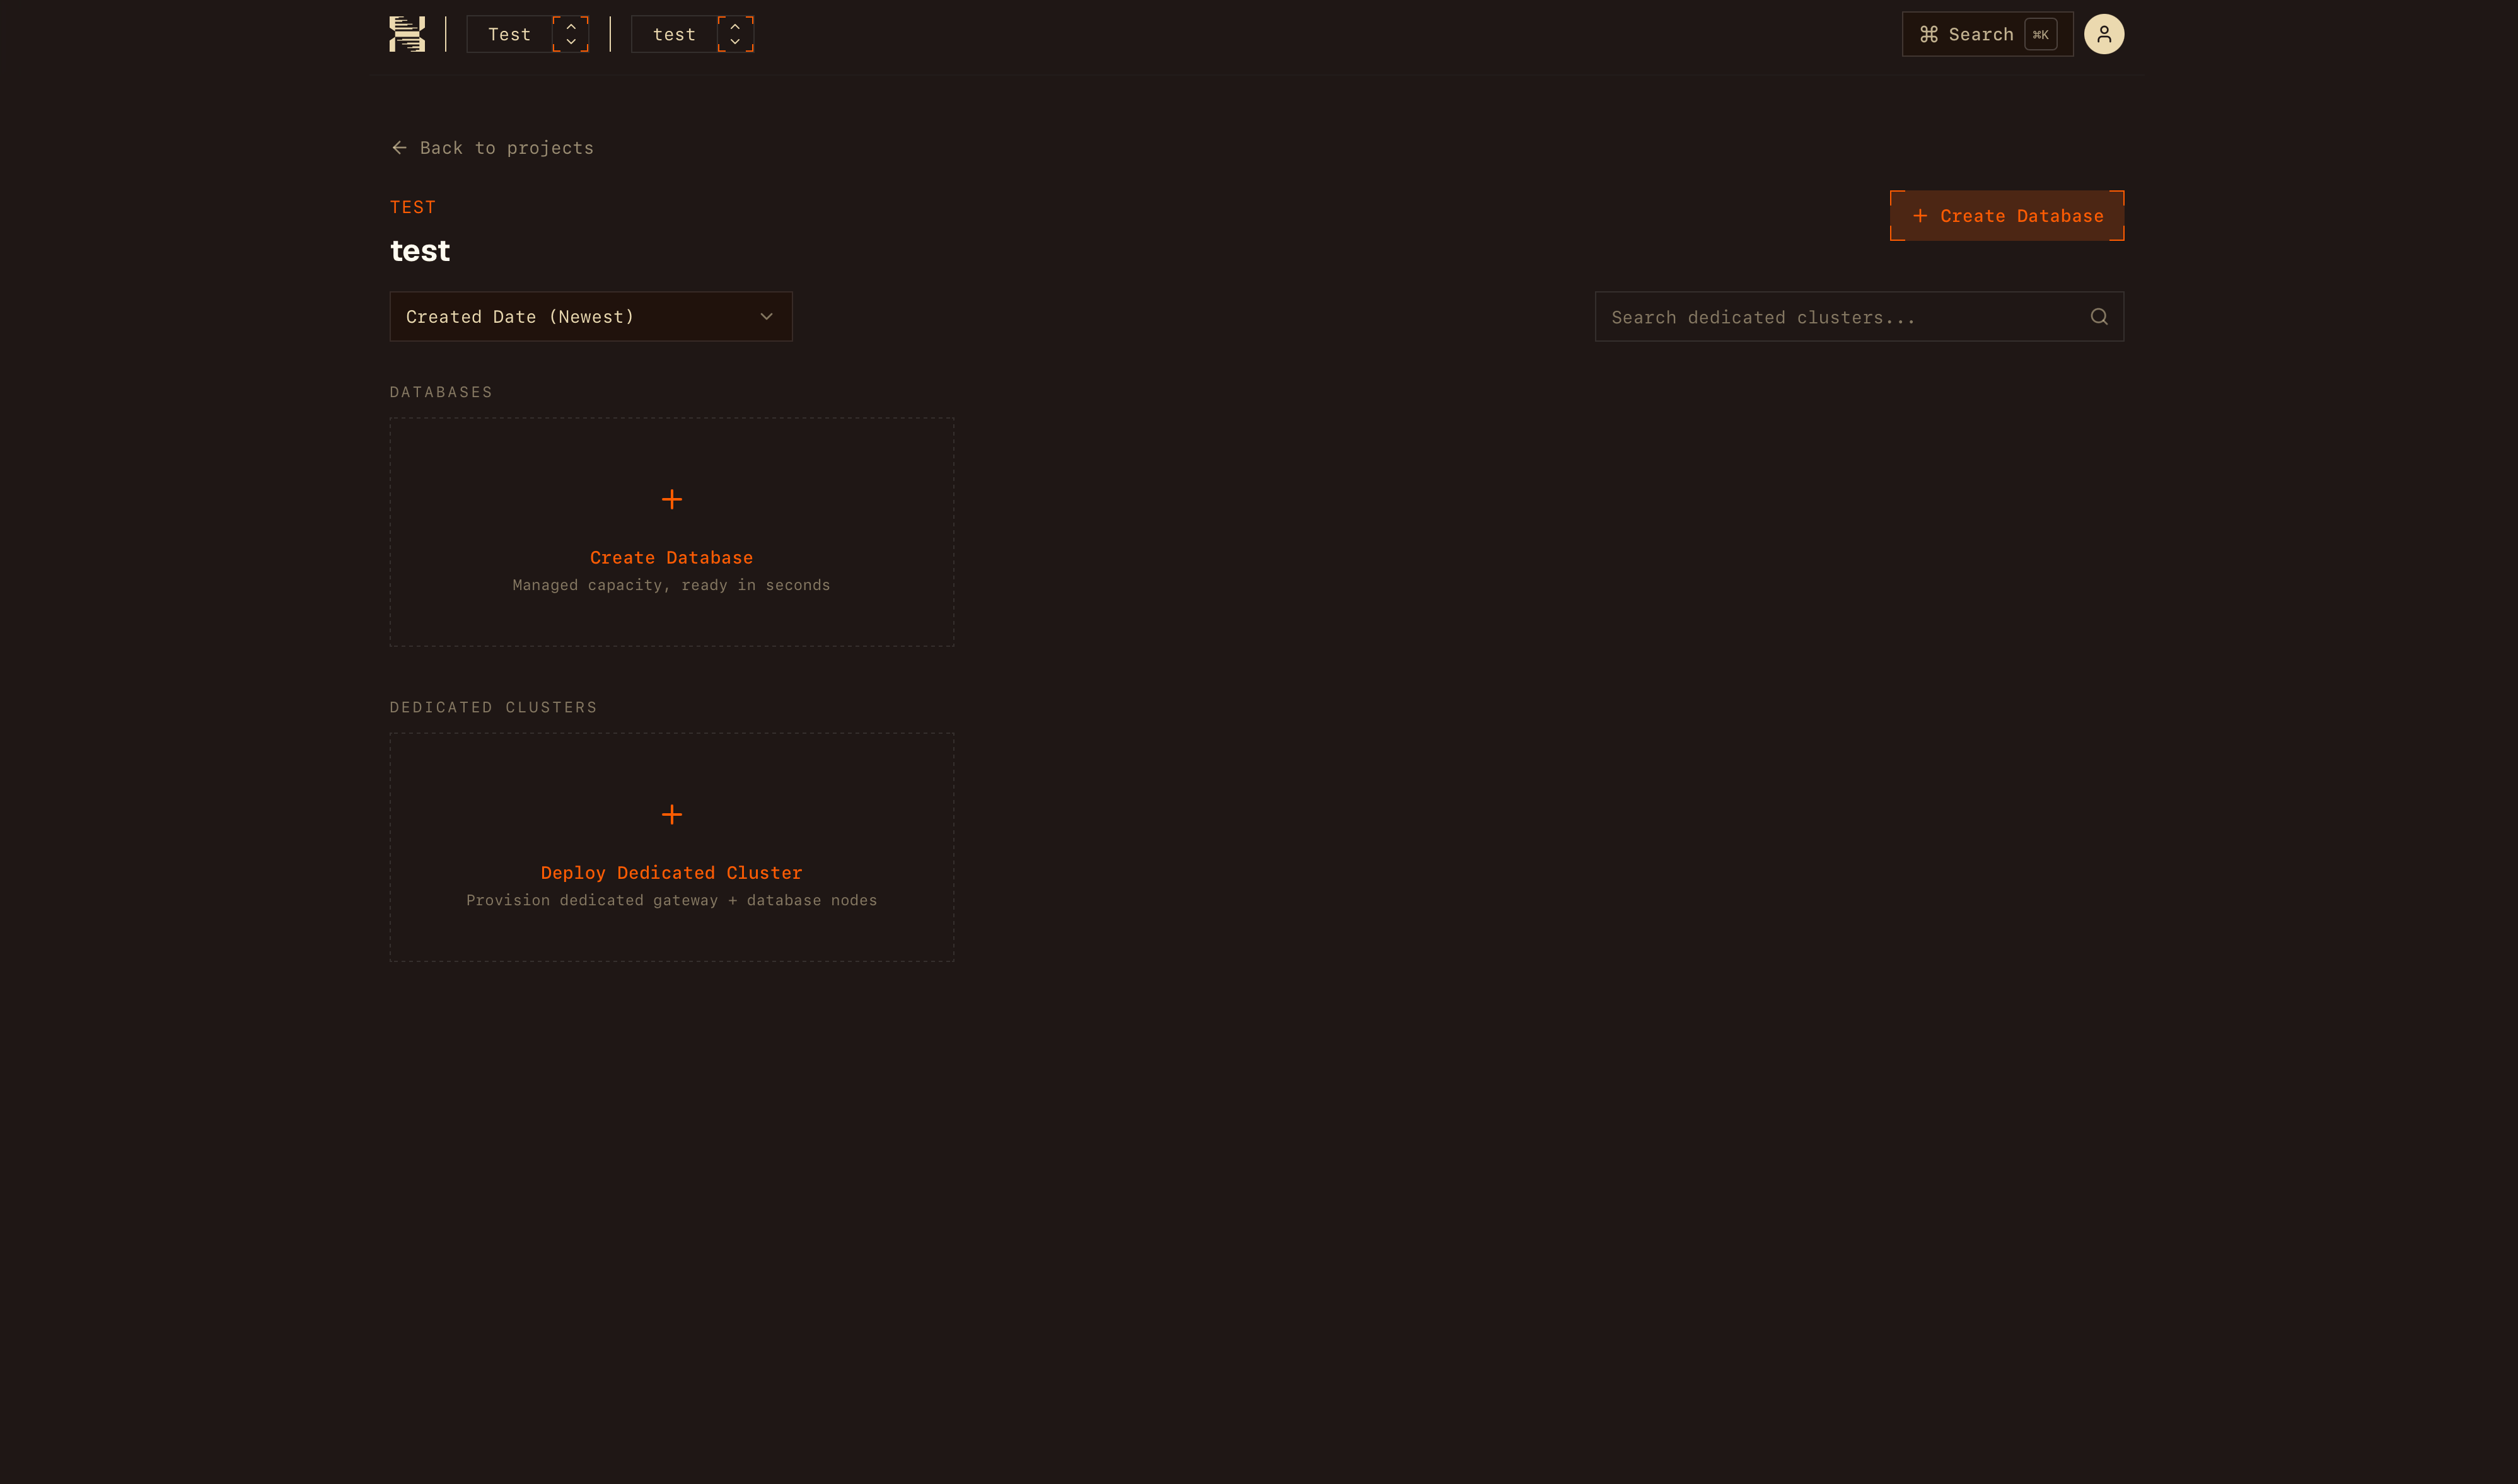
5
Choose a name and plan
Keep Database selected, enter a database name, choose a monthly plan,
and select Create Database. The plan determines the included read and
write query allowance.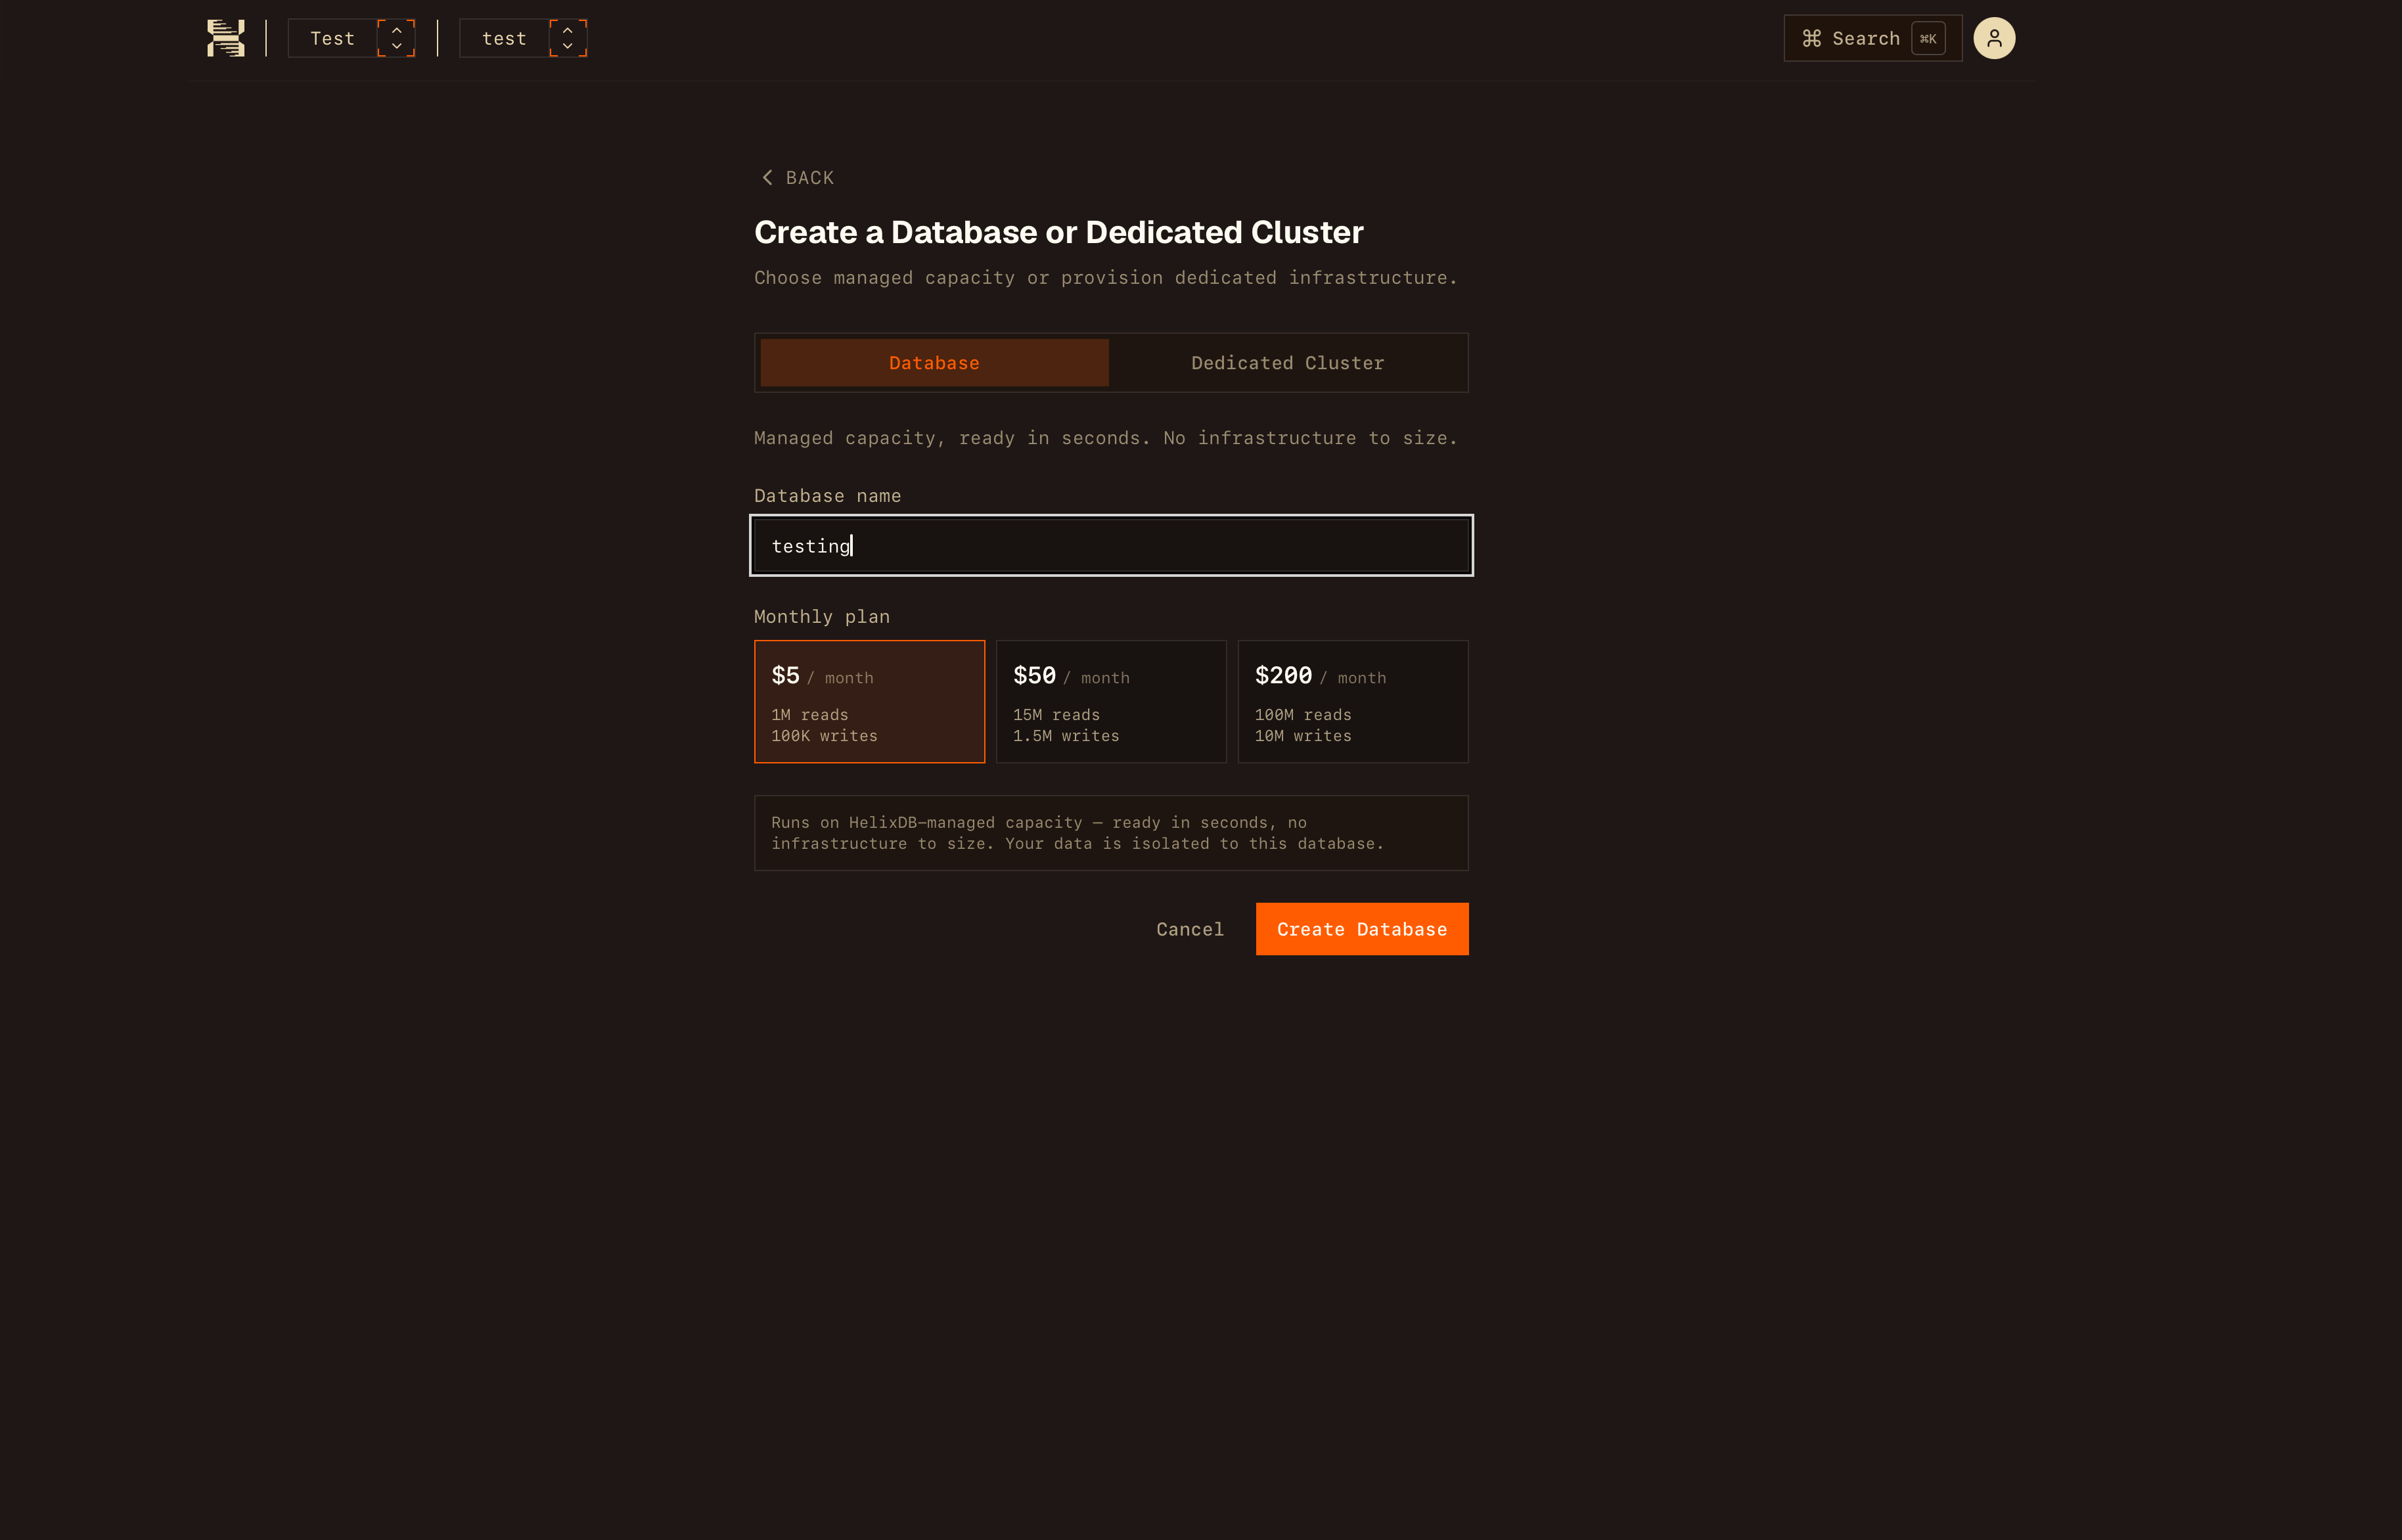
6
Copy the connection details
Wait for the database status to become Active, then open it. In
Connect, copy the endpoint and database ID. In API Keys, create a key
or use an existing one and copy its value when it is shown.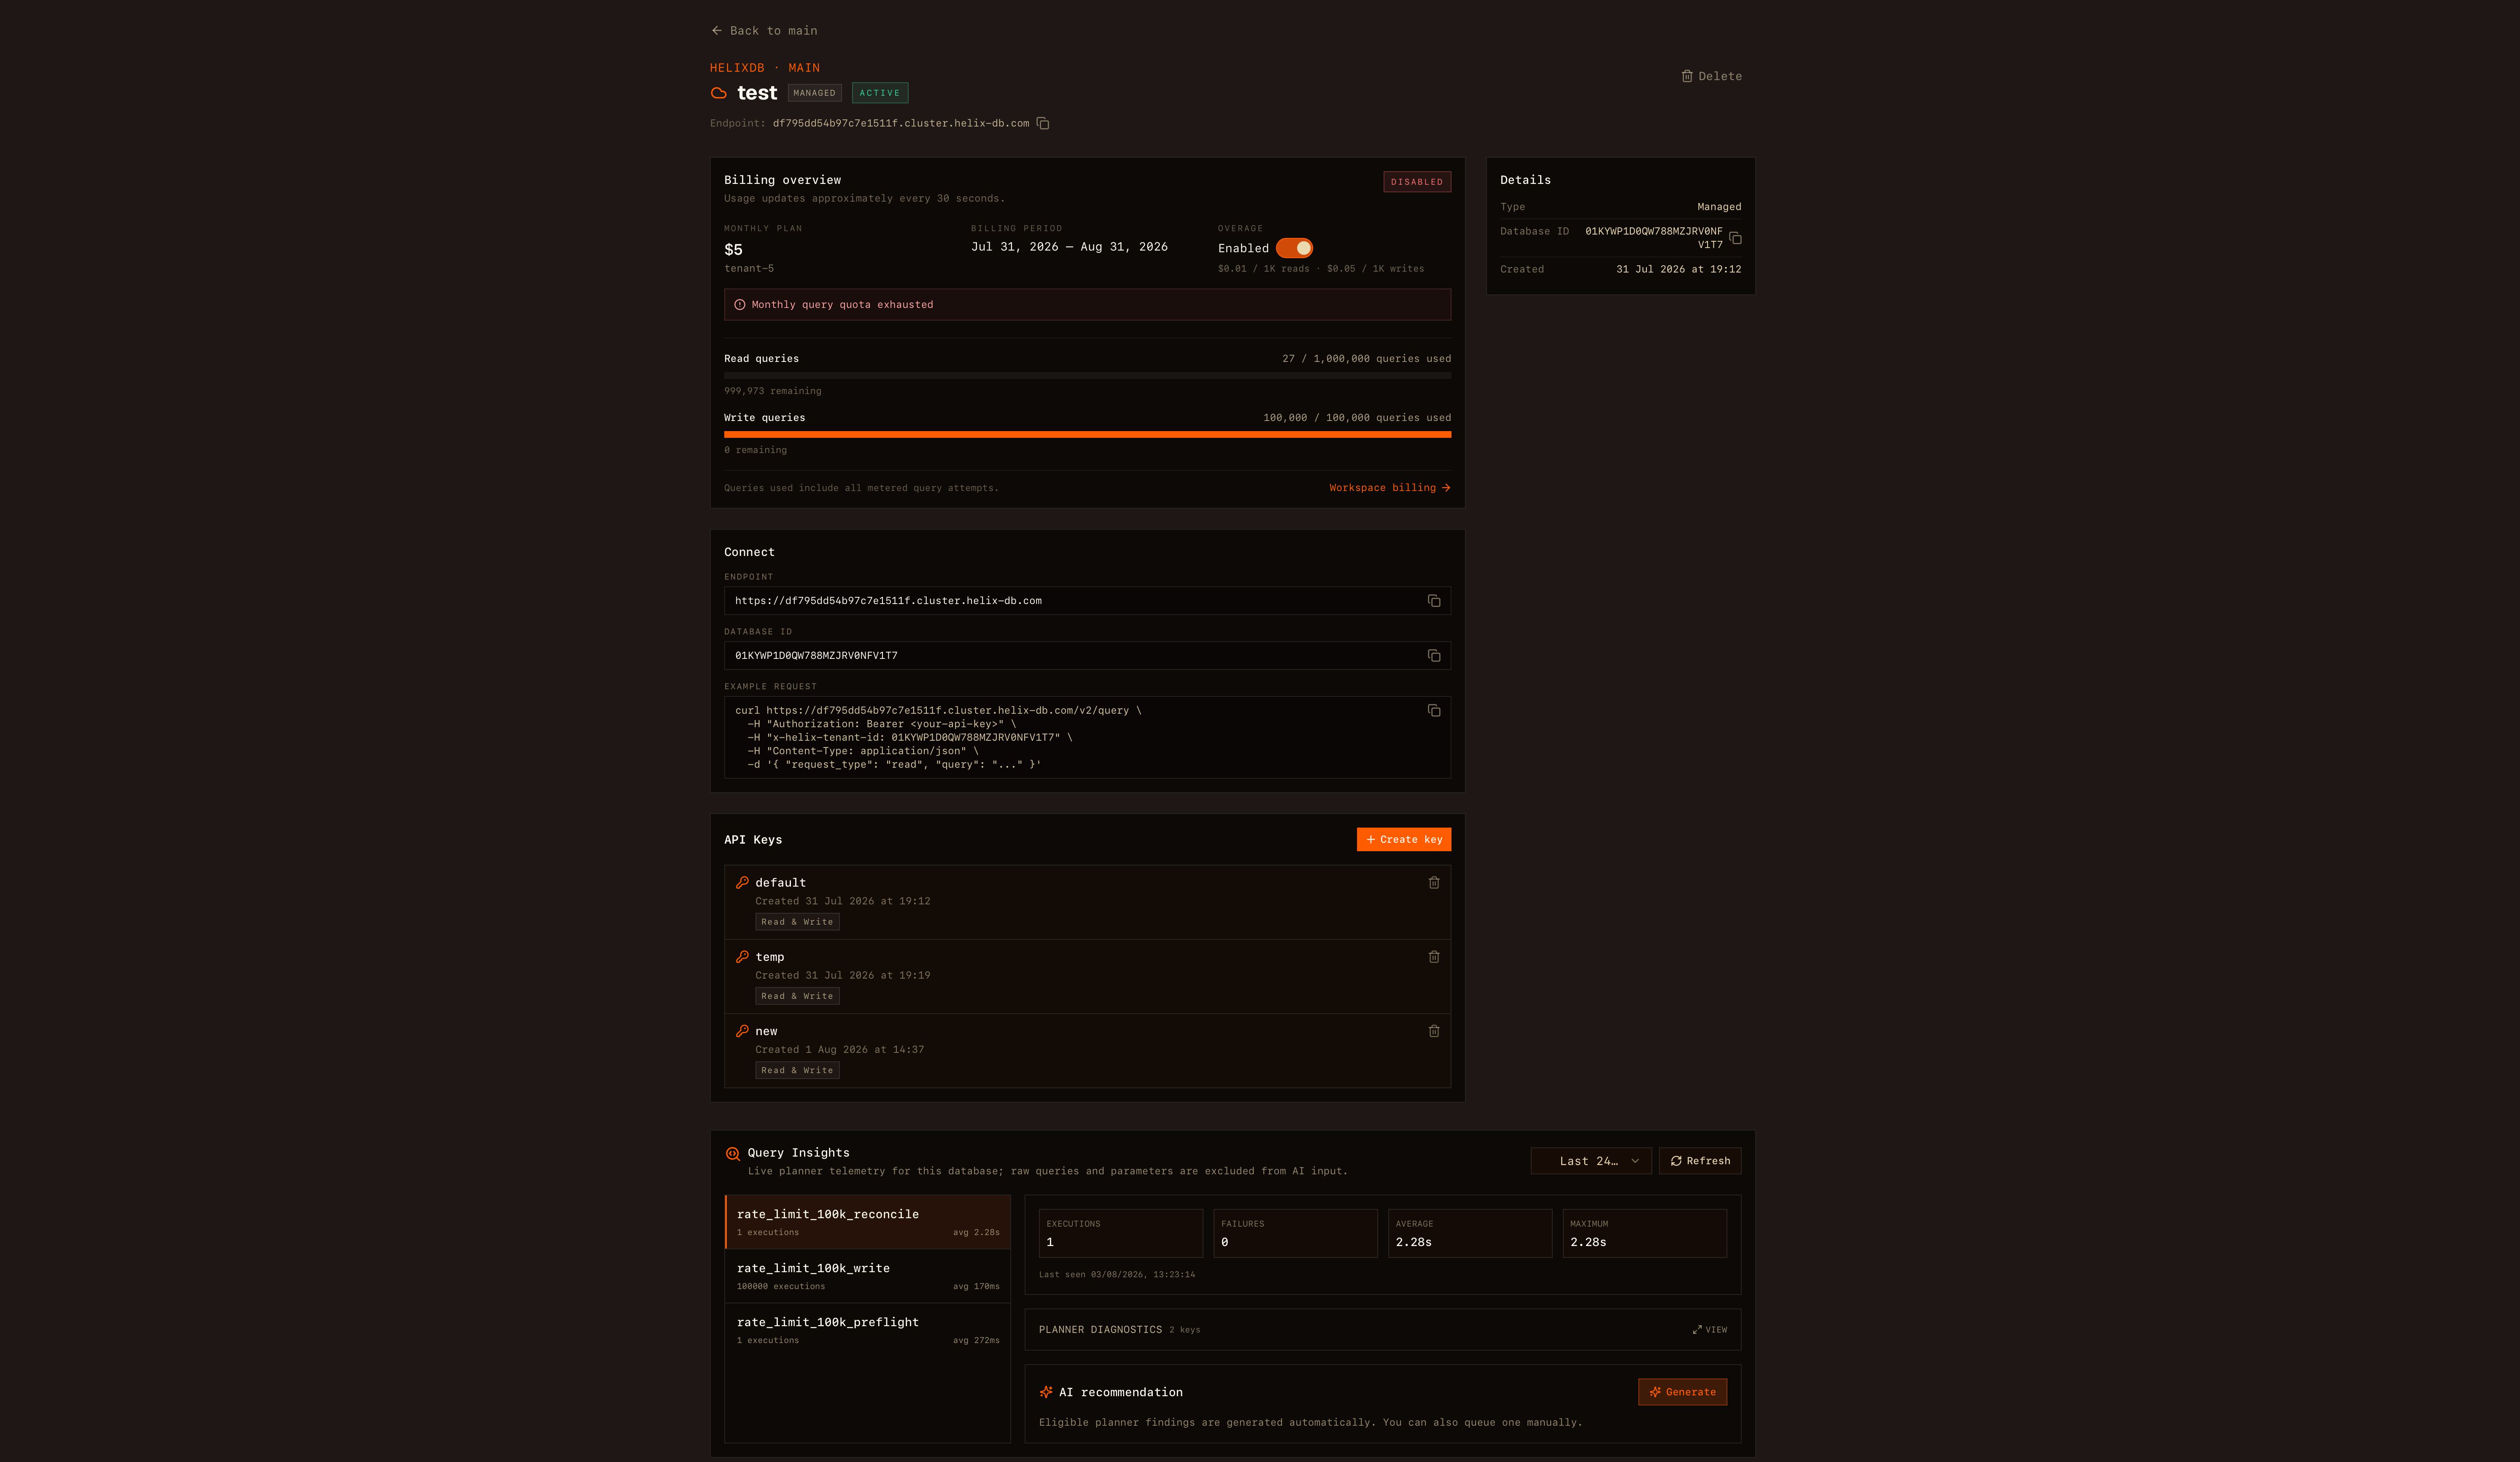
Test the connection
Set the three values copied from the database page, then send this read-only query. It countsUser nodes, so it also succeeds on a new database with a count
of 0.
Next steps
Helix Cloud overview
Connect from an SDK and understand Cloud request routing.
Security
Review authentication, encryption, and API key handling.
TypeScript SDK setup
Install the SDK and connect a Node.js application.
Query walkthrough
Build and run a query step by step.