> ## Documentation Index
> Fetch the complete documentation index at: https://docs.helix-db.com/llms.txt
> Use this file to discover all available pages before exploring further.
# Using the Dashboard
> Sign in, create a workspace and project, provision a database, and test the connection
Tutorial
> For the complete documentation index optimized for AI agents, see [llms.txt](/llms.txt).
Use the Helix Cloud dashboard to organize databases into workspaces and projects,
choose a managed plan, and create API keys.
Open the [Helix Cloud dashboard](https://helix-db.com/login) and select
**GitHub Login**. When prompted, enter the one-time verification code from
the email sent by WorkOS.
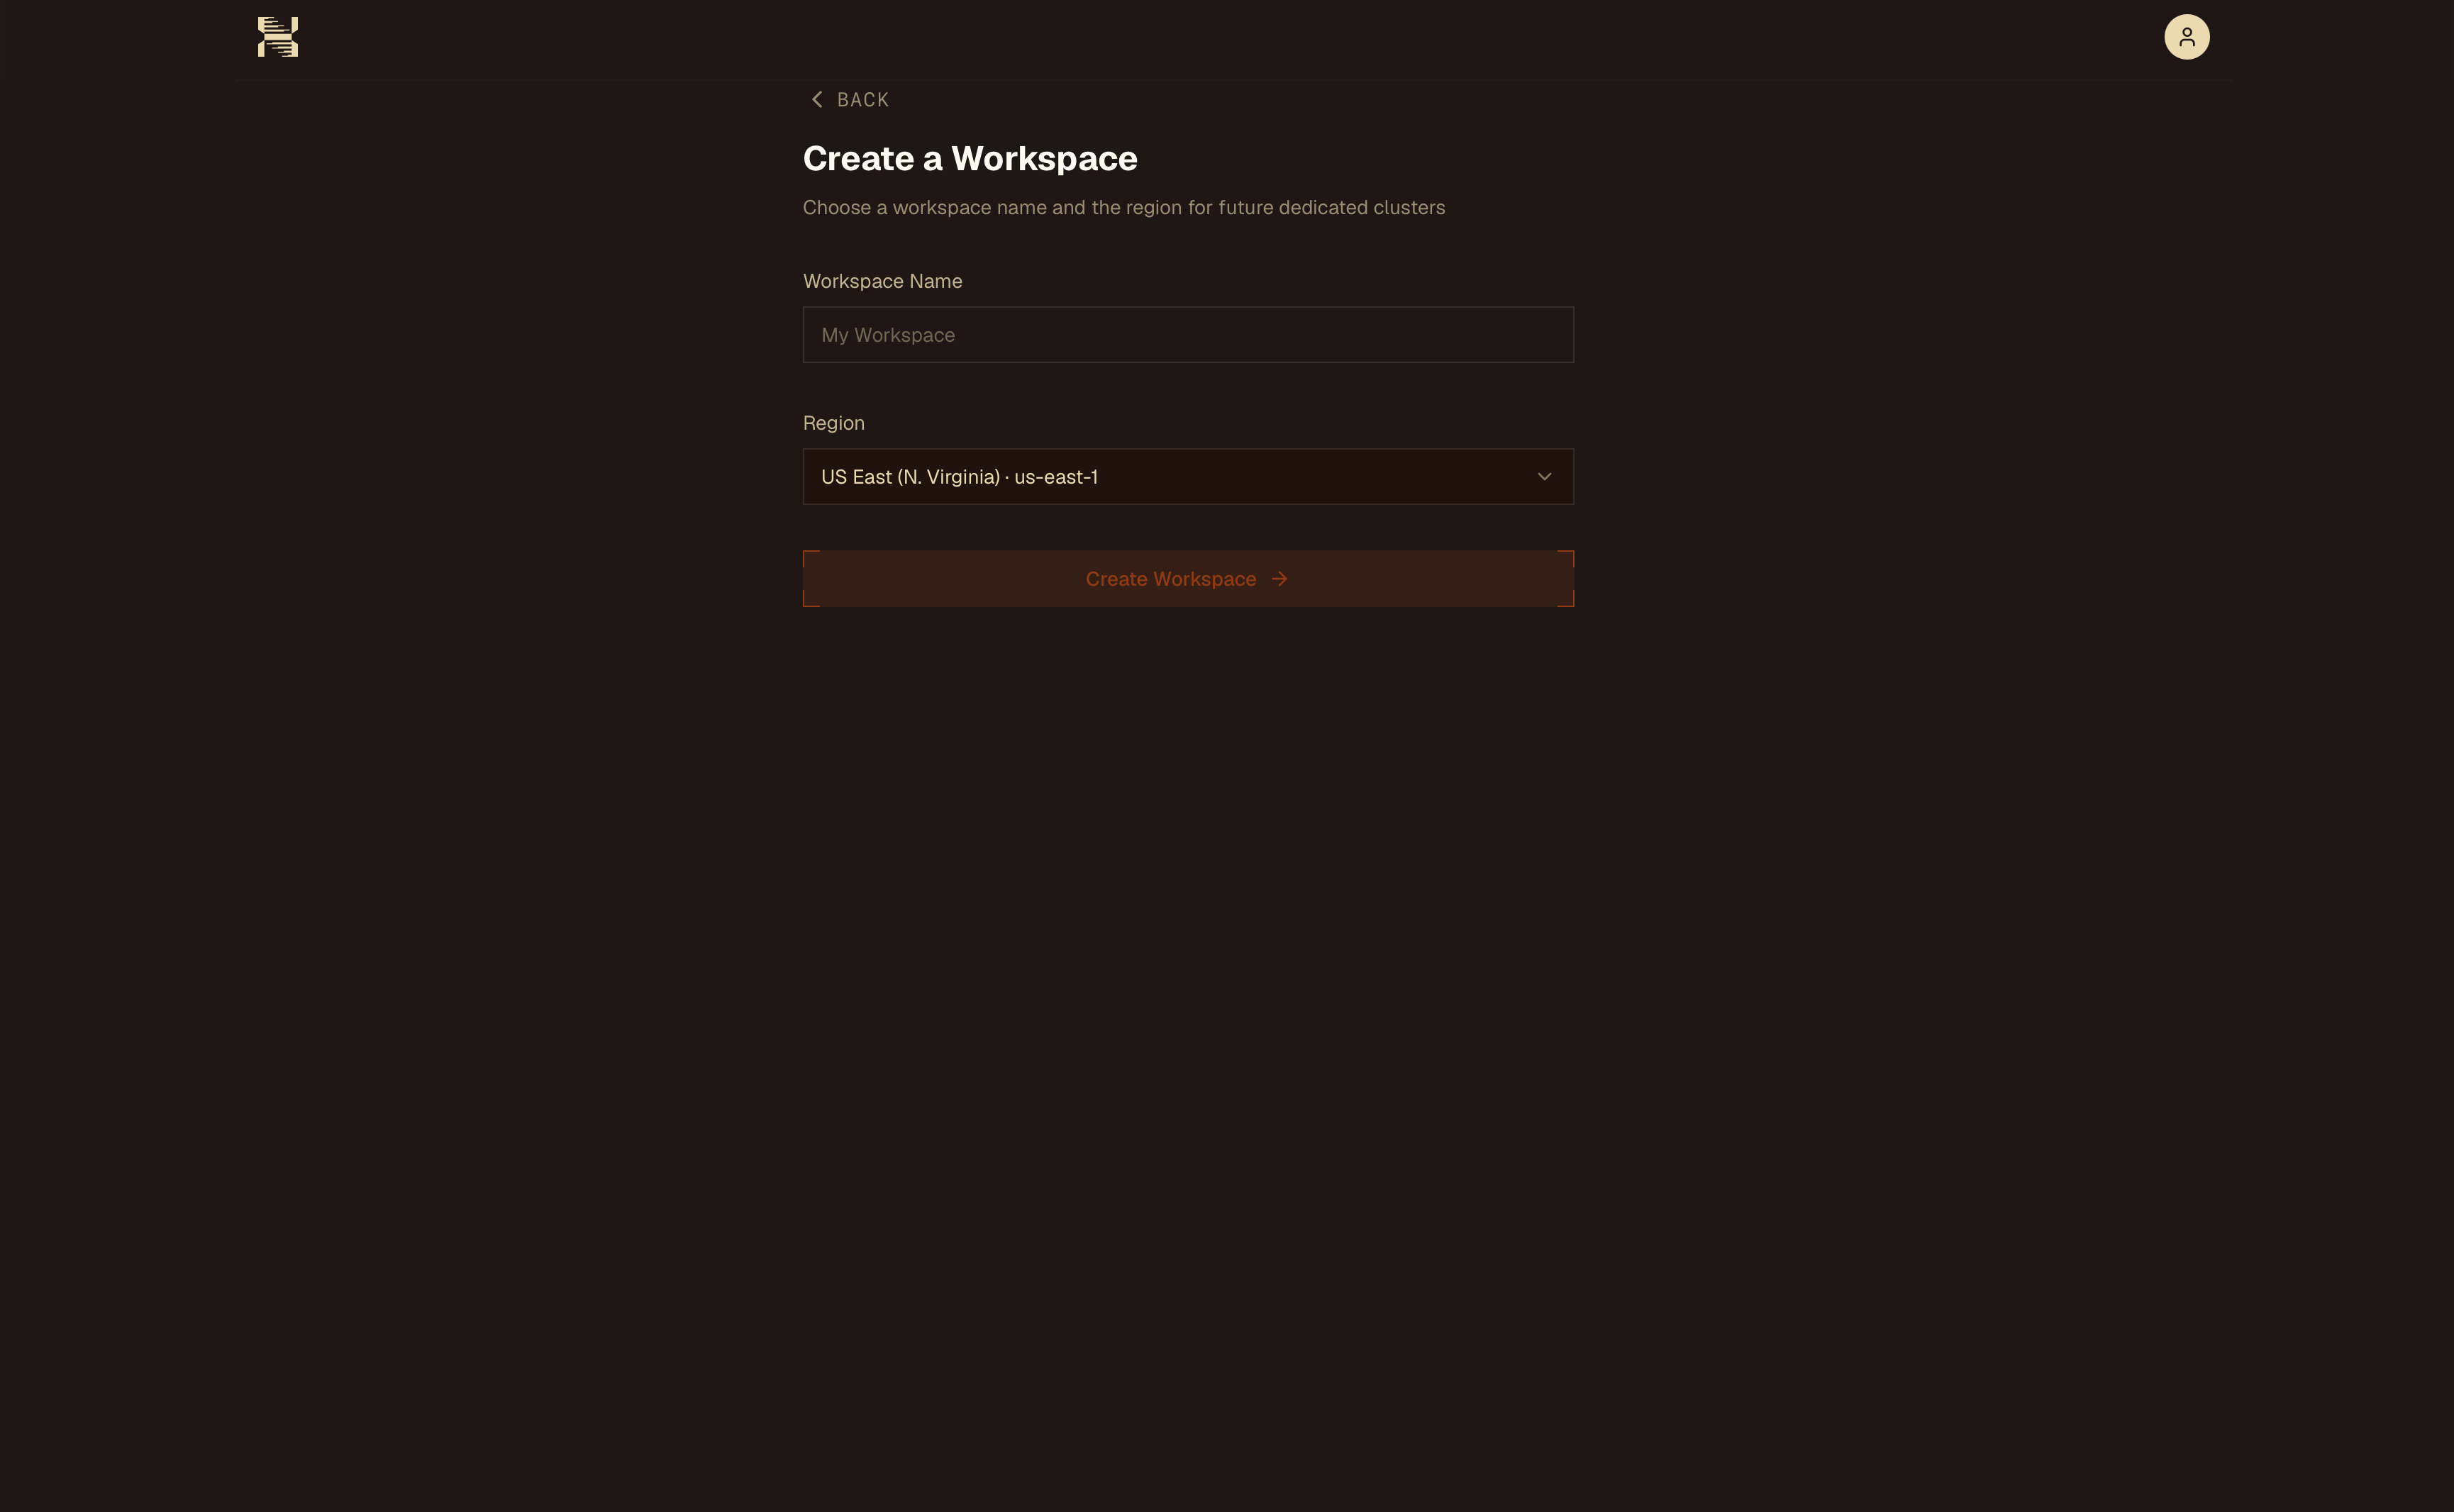
 Enter a workspace name, select the region for future dedicated clusters,
and select **Create Workspace**.
New workspaces currently support only the `us-east-1` region.
Enter a workspace name, select the region for future dedicated clusters,
and select **Create Workspace**.
New workspaces currently support only the `us-east-1` region.
 Select **Create Project**, then give the project a name. Projects group the
databases and dedicated clusters for an application or environment.
Select **Create Project**, then give the project a name. Projects group the
databases and dedicated clusters for an application or environment.
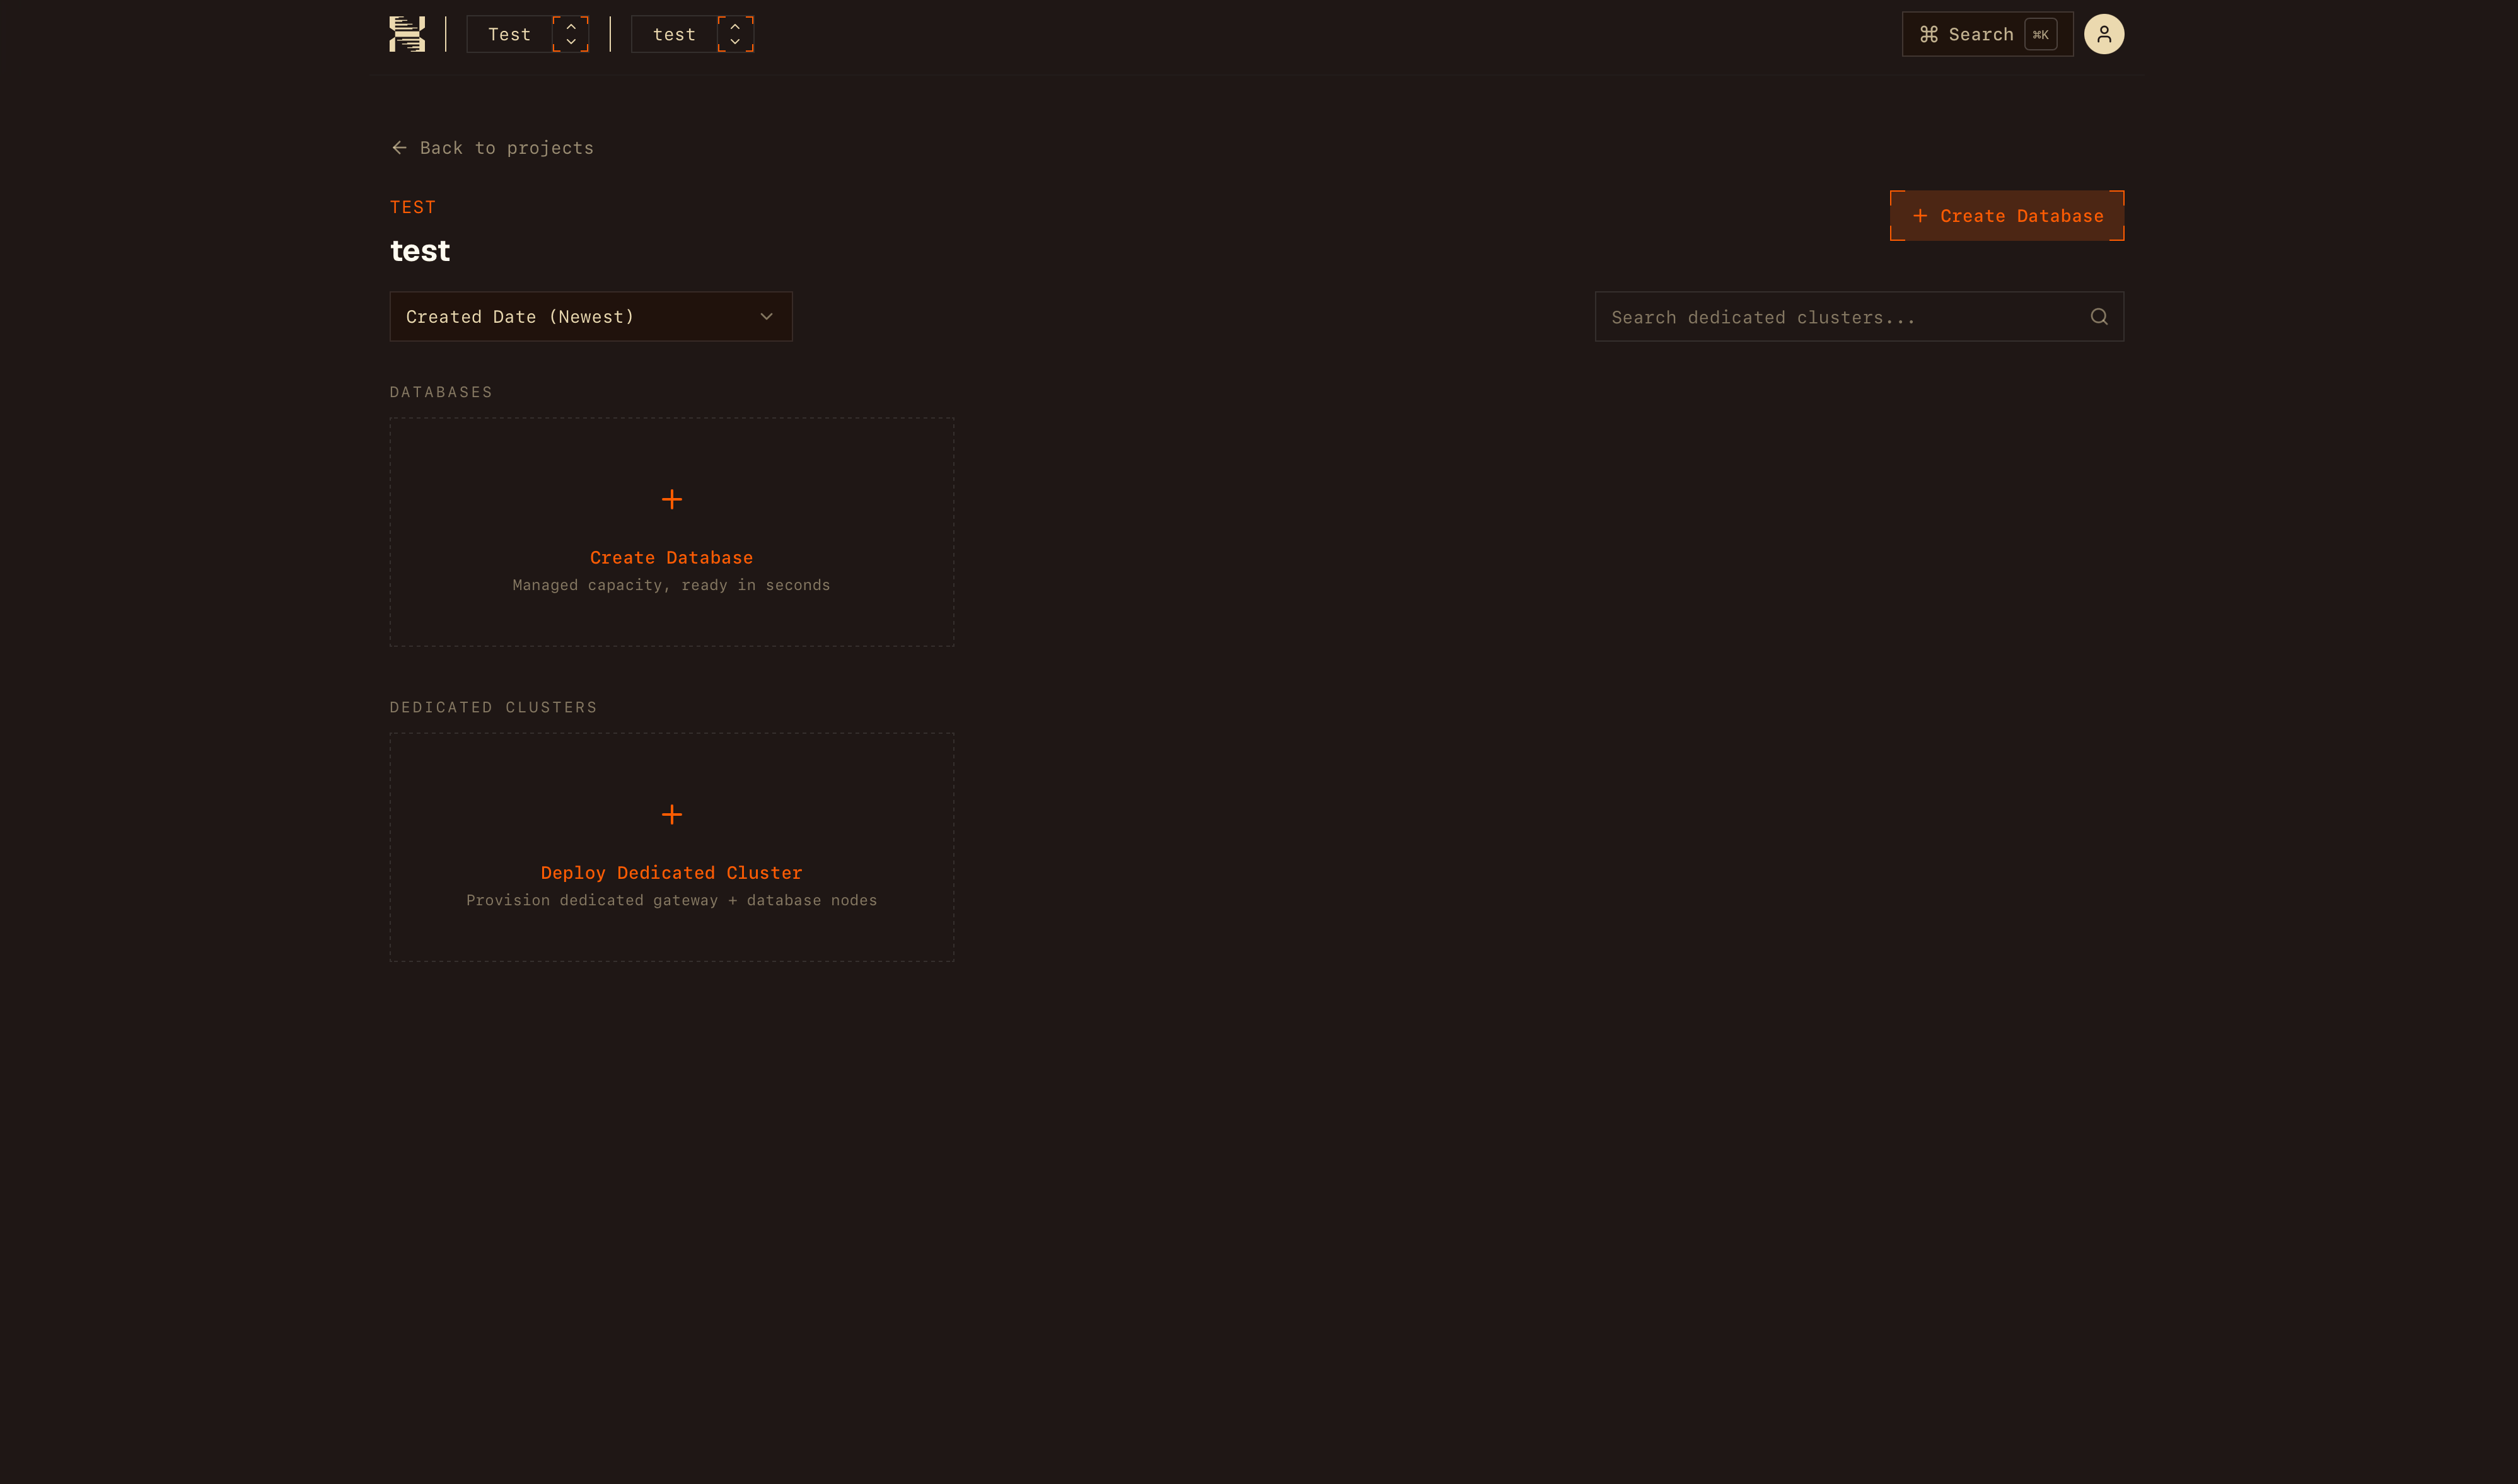
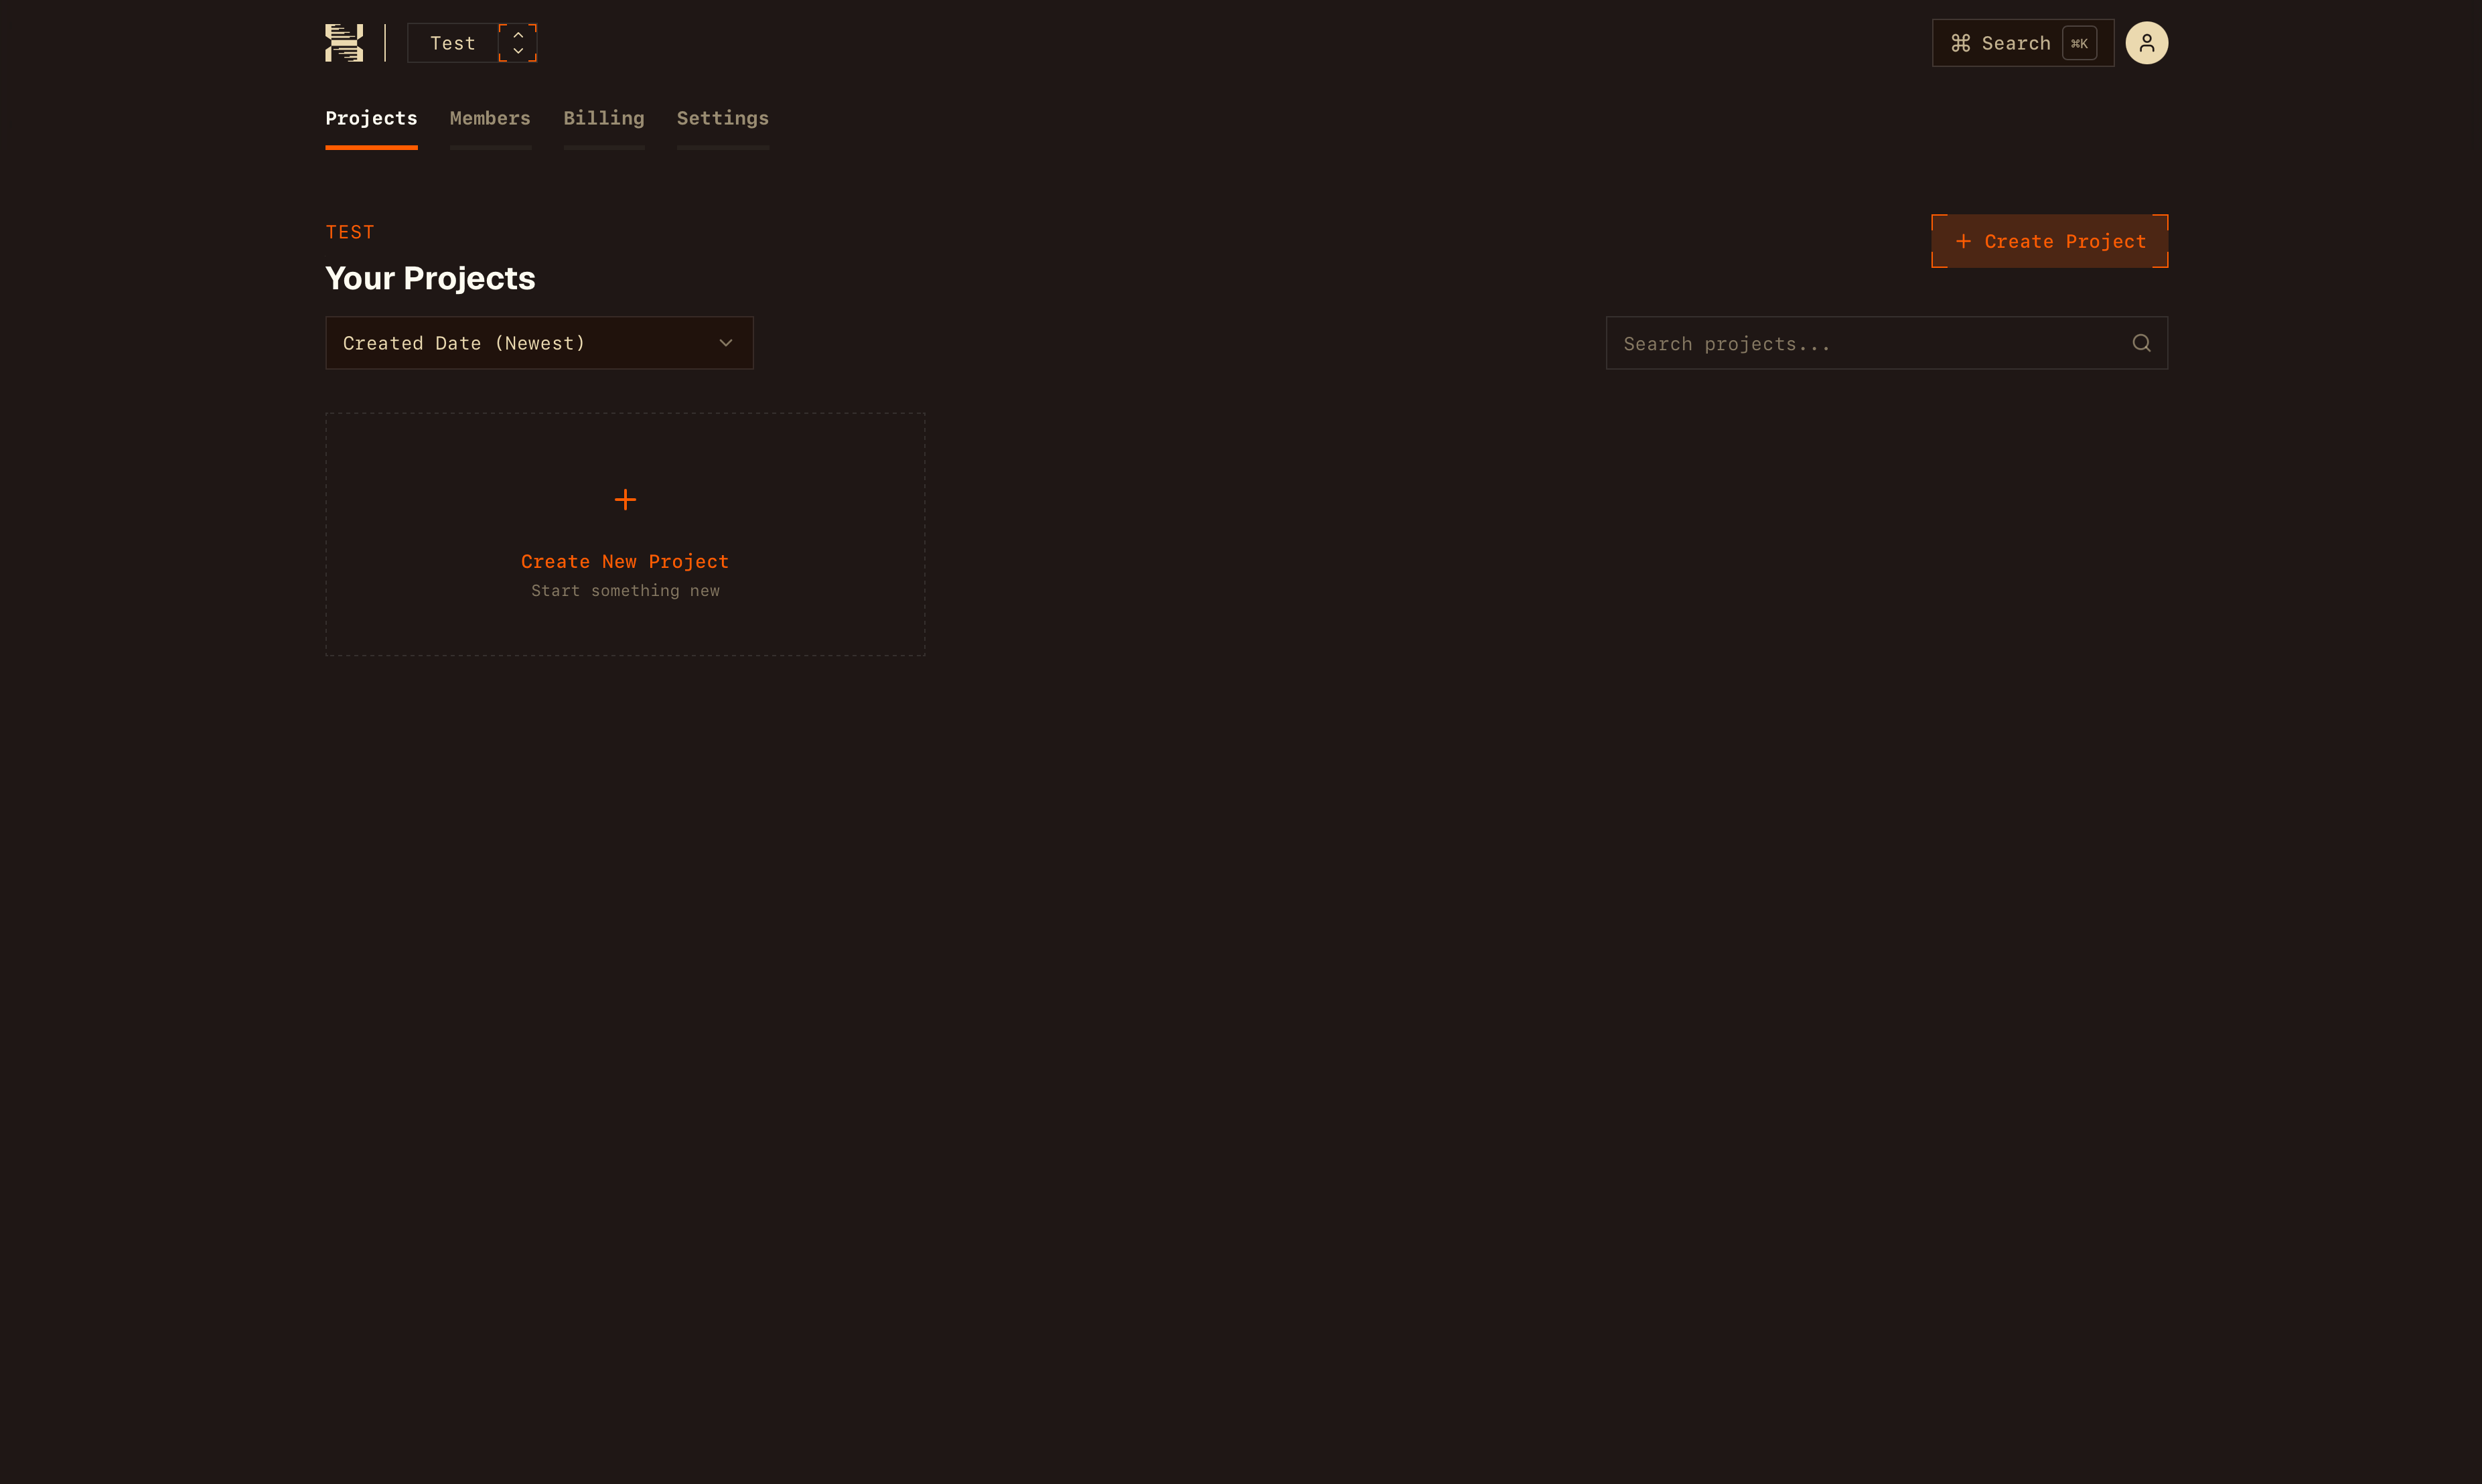 Open the project and select **Create Database**.
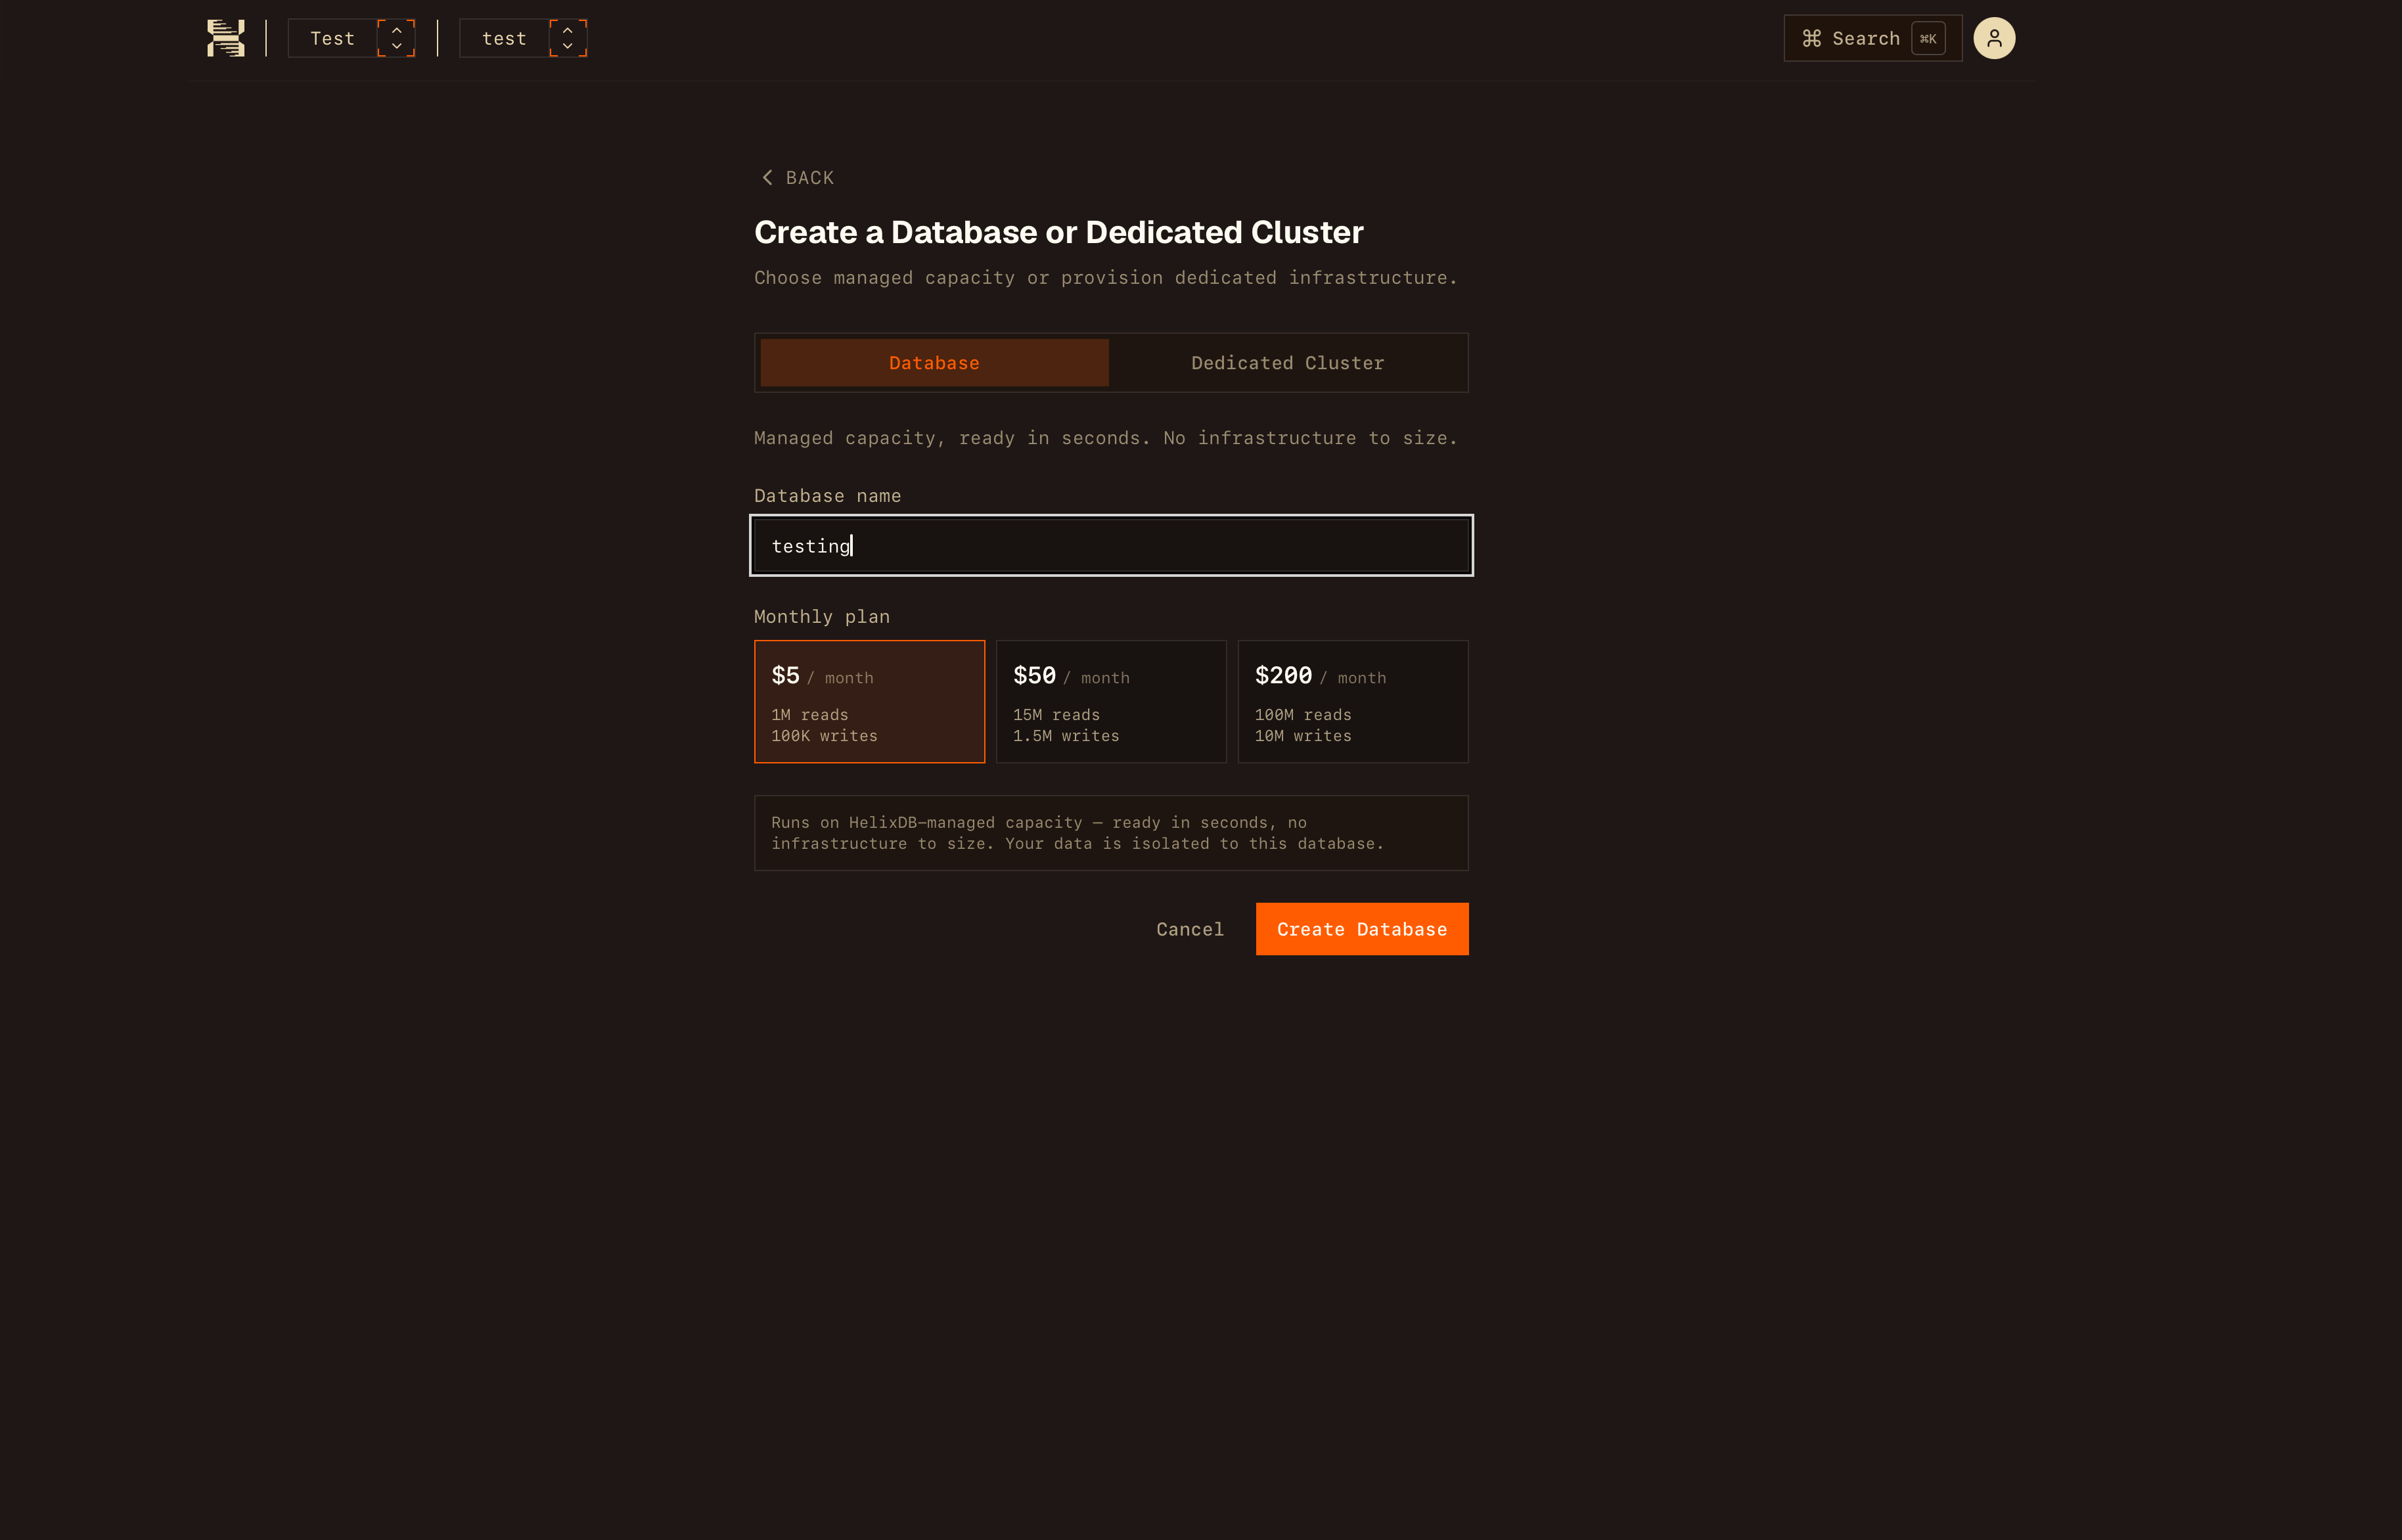
 Keep **Database** selected, enter a database name, choose a monthly plan,
and select **Create Database**. The plan determines the included read and
write query allowance.
Keep **Database** selected, enter a database name, choose a monthly plan,
and select **Create Database**. The plan determines the included read and
write query allowance.
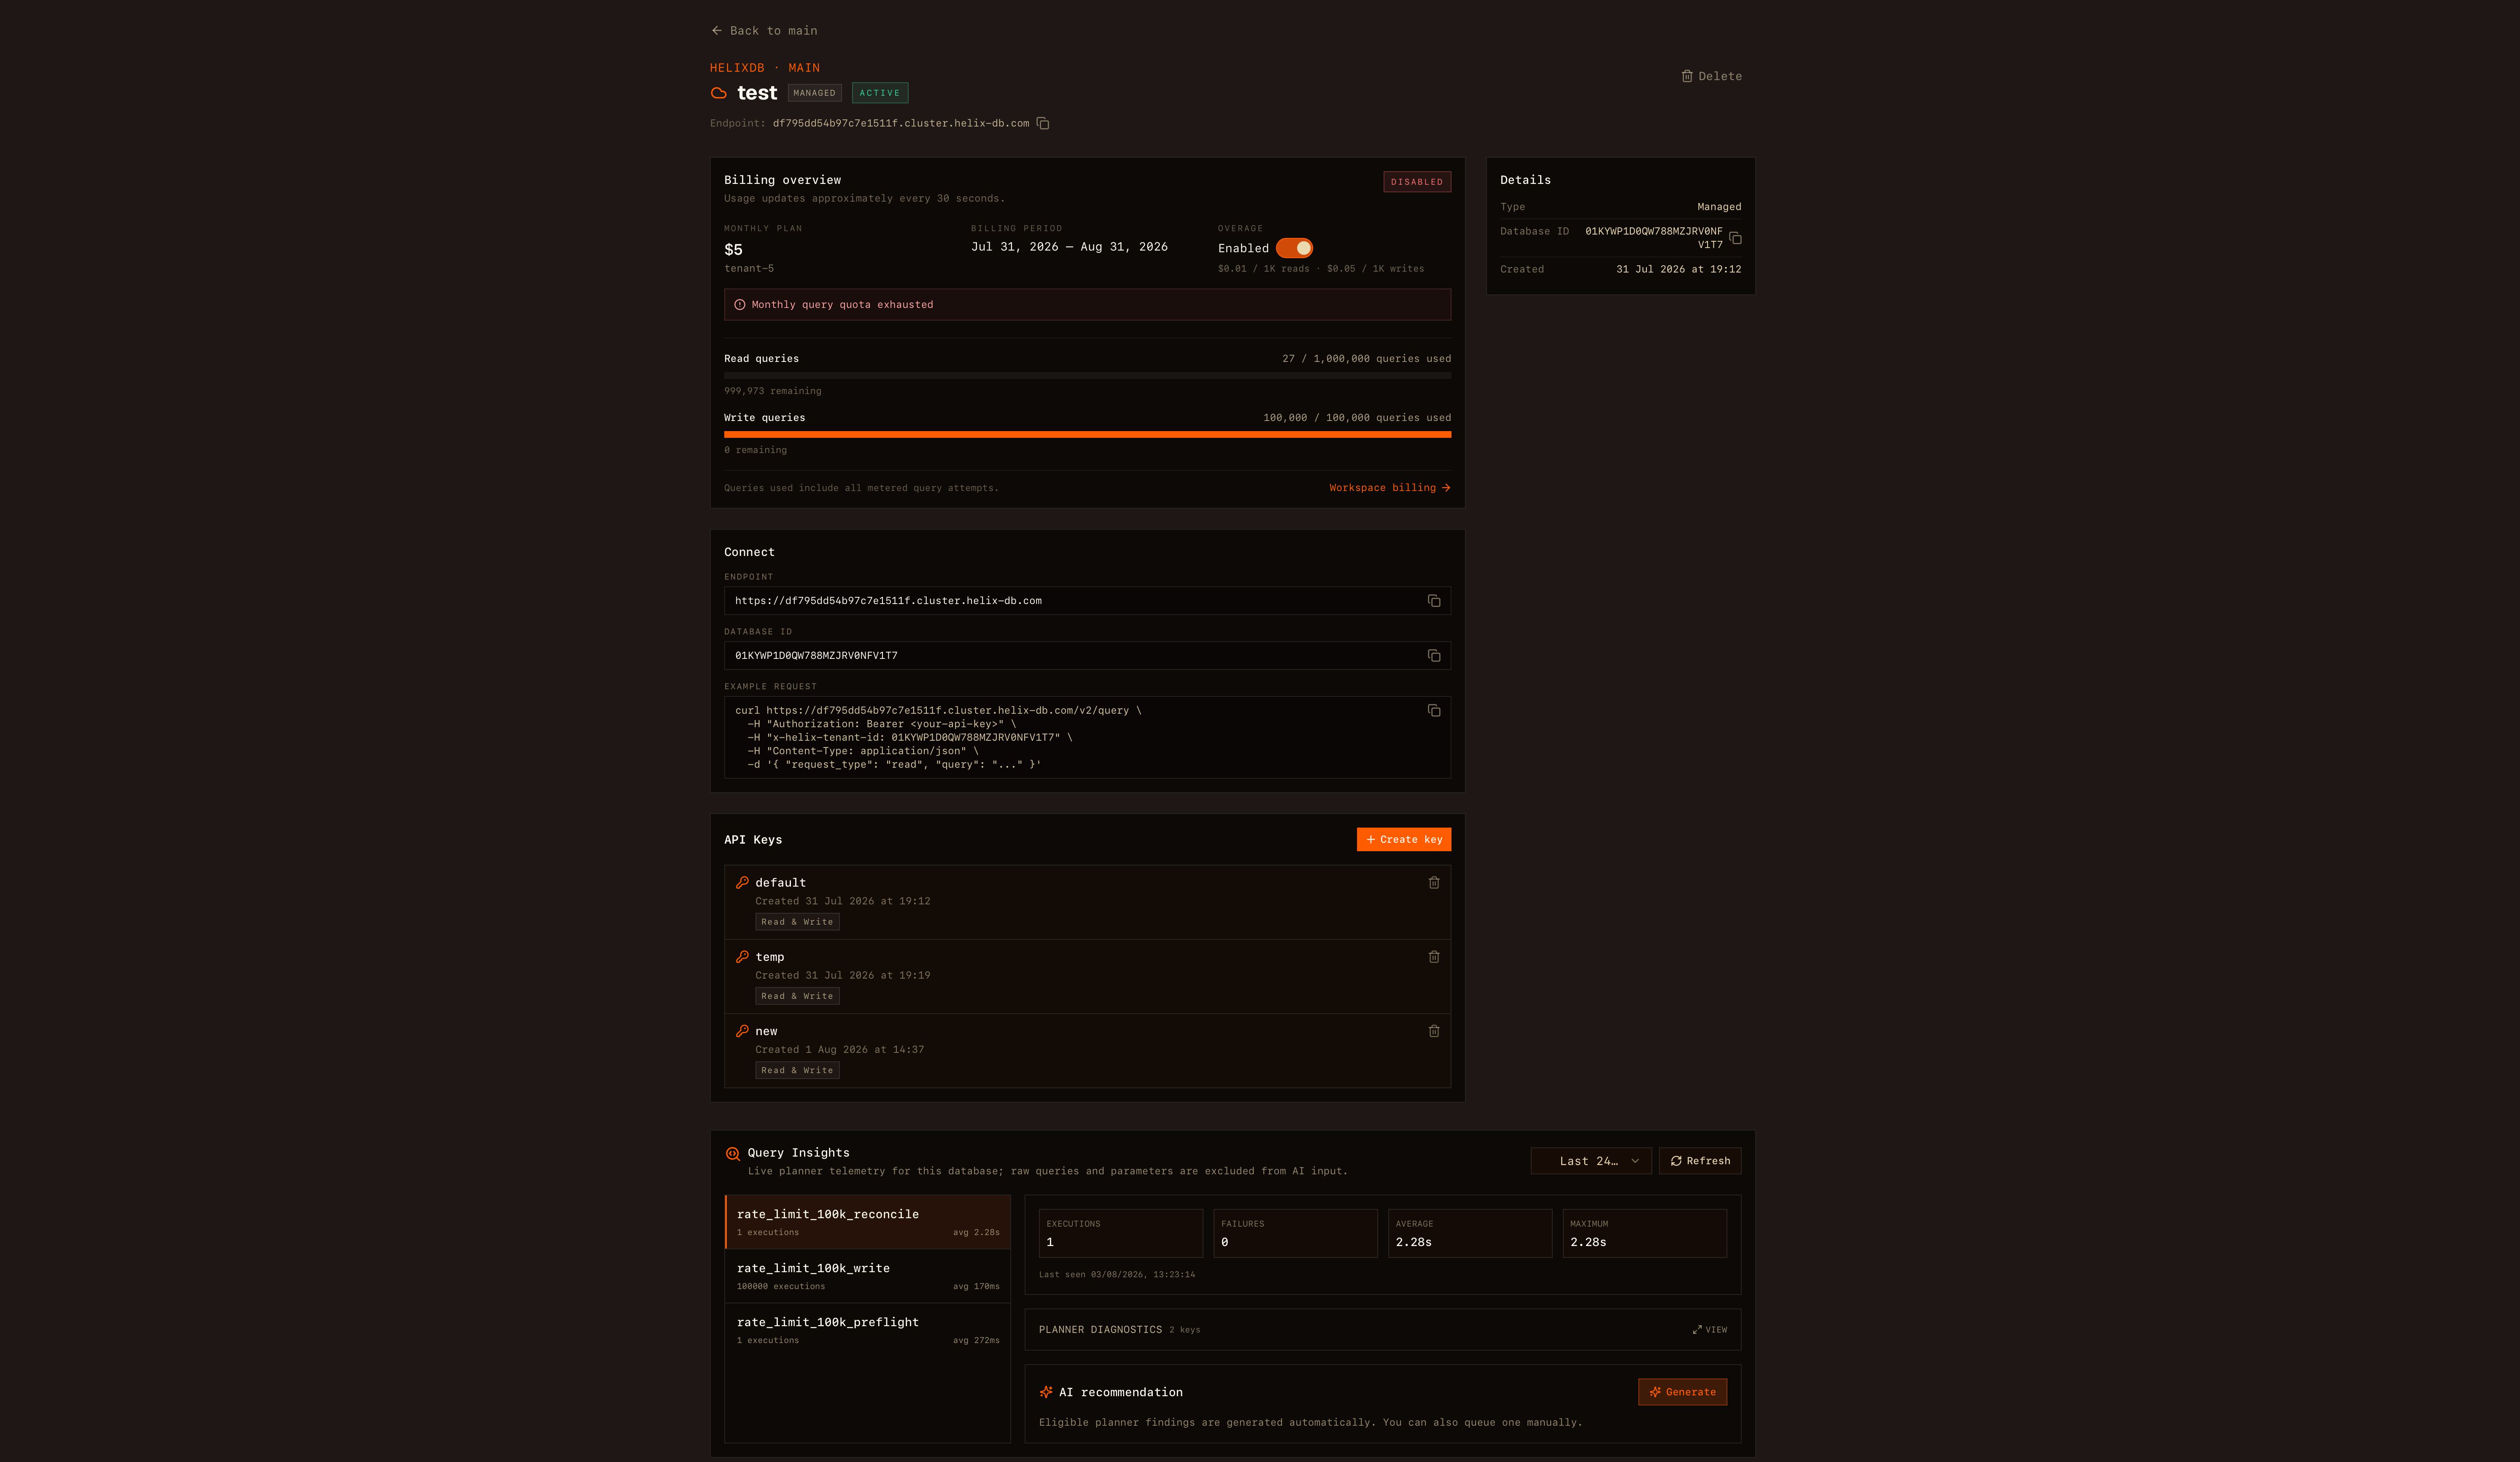
 Wait for the database status to become **Active**, then open it. In
**Connect**, copy the endpoint and database ID. In **API Keys**, create a key
or use an existing one and copy its value when it is shown.
Wait for the database status to become **Active**, then open it. In
**Connect**, copy the endpoint and database ID. In **API Keys**, create a key
or use an existing one and copy its value when it is shown.
 ## Test the connection
Set the three values copied from the database page, then send this read-only
query. It counts `User` nodes, so it also succeeds on a new database with a count
of `0`.
```bash theme={"languages":{"custom":["languages/helixql.json"]}}
export HELIX_ENDPOINT="https://.cluster.helix-db.com"
export HELIX_DATABASE_ID=""
export HELIX_API_KEY=""
curl --fail-with-body --silent --show-error \
"$HELIX_ENDPOINT/v2/query" \
--header "Authorization: Bearer $HELIX_API_KEY" \
--header "x-helix-tenant-id: $HELIX_DATABASE_ID" \
--header "Content-Type: application/json" \
--data-binary @- <<'JSON'
{
"request_type": "read",
"query_name": "connection_test",
"query": {
"read": {
"entries": [
{
"query": {
"name": "user_count",
"root": {
"count": {
"input": {
"nodes_where": {
"predicate": {
"eq": {
"left": { "property": "$label" },
"right": { "constant": { "string": "User" } }
}
}
}
}
}
}
}
}
],
"returns": ["user_count"]
}
}
}
JSON
```
Keep API keys in a secrets manager or environment variable. Do not commit them
to source control.
## Next steps
Connect from an SDK and understand Cloud request routing.
Review authentication, encryption, and API key handling.
Install the SDK and connect a Node.js application.
Build and run a query step by step.
## Test the connection
Set the three values copied from the database page, then send this read-only
query. It counts `User` nodes, so it also succeeds on a new database with a count
of `0`.
```bash theme={"languages":{"custom":["languages/helixql.json"]}}
export HELIX_ENDPOINT="https://.cluster.helix-db.com"
export HELIX_DATABASE_ID=""
export HELIX_API_KEY=""
curl --fail-with-body --silent --show-error \
"$HELIX_ENDPOINT/v2/query" \
--header "Authorization: Bearer $HELIX_API_KEY" \
--header "x-helix-tenant-id: $HELIX_DATABASE_ID" \
--header "Content-Type: application/json" \
--data-binary @- <<'JSON'
{
"request_type": "read",
"query_name": "connection_test",
"query": {
"read": {
"entries": [
{
"query": {
"name": "user_count",
"root": {
"count": {
"input": {
"nodes_where": {
"predicate": {
"eq": {
"left": { "property": "$label" },
"right": { "constant": { "string": "User" } }
}
}
}
}
}
}
}
}
],
"returns": ["user_count"]
}
}
}
JSON
```
Keep API keys in a secrets manager or environment variable. Do not commit them
to source control.
## Next steps
Connect from an SDK and understand Cloud request routing.
Review authentication, encryption, and API key handling.
Install the SDK and connect a Node.js application.
Build and run a query step by step.